 Business





Custom L-Shaped Outdoor Covers: How to Measure Inside Corners and Chaise Returns

Custom L shaped outdoor covers need more than an overall [...]
Custom L shaped outdoor covers need more than an overall width and depth. The inside corner, chaise return, back angle, arm profile, and gaps between modular pieces all affect how a finished cover will sit and how easily it can be installed. A sectional that looks like a simple “L” from across the patio may include several different depths and heights.
This guide focuses on the geometry that is unique to L-shaped seating. It helps you create a clear measurement package without repeating the basic rectangular measuring process used for a single sofa or table.
Decide whether the sectional will stay connected
Before measuring, choose the configuration that will actually be covered. Some sectional pieces clip together permanently for the season, while others are moved frequently. If the modules drift apart, a one-piece cover can pull across the inside corner, collect water in the gaps, or become difficult to remove.
Photograph the connectors under the seats and note whether the chaise can switch sides. A reversible layout needs a different plan from a fixed left-hand or right-hand return. When the arrangement changes often, separate covers may be easier to handle than one large L-shaped cover.
Draw the footprint before taking dimensions
Make a simple top-view sketch and label the outside perimeter in one direction. Start at one end, follow every turn around the sectional, and return to the starting point. Do not assume two segments that look equal are the same length.
Mark the open side of the “L,” the inside corner, the outside corner, the chaise end, and each arm. Add an arrow showing which side faces the house or primary access path. This orientation prevents a correct number from being assigned to the wrong leg.
Measure both legs of the L independently
Record the total outside length of the main sofa run and the total outside length of the return. Then measure the depth of each leg. A chaise seat is often deeper than the ordinary seat modules, and a corner module may extend farther behind the back cushions.
- Main run: outside end to outside corner.
- Return run: outside corner to the end of the chaise or secondary sofa.
- Main depth: front edge to the farthest back point.
- Return depth: front of the return to its farthest back point.
- Overall height: ground or chosen hem line to the highest fixed back.
Take measurements across the frame, not just the removable cushions. Loose cushions can compress, shift, or be stored separately, while the frame defines the stable footprint.
Map the inside corner instead of estimating it
The inside corner is the most commonly missed detail in custom L shaped outdoor covers. Measure the distance from the inside corner to each open end along the seat-front edges. Then record the depth of the notch from the front line to the inside corner.
If the inside corner is rounded, angled, or partially blocked by cushions, photograph it from above and include a close-up with the tape visible. A sharp 90-degree pattern should not be assumed for a curved wedge module. Note any table, connector, or raised cushion that fills the corner.
Record height changes and sloped backs
Measure the highest fixed point on each leg. Sectionals can have a level back, a stepped corner, a tall arm, or a chaise with no back at all. Record the height at every meaningful transition rather than sending one average.
For a sloped or curved back, measure at the front and rear of the top profile and add a side photograph. The cover needs enough room to pass over the high point without leaving a large loose pocket over the lower section.
Choose the hem line and fastening points
Decide where the lower edge should finish. A small clearance above the patio can reduce abrasion and keep the hem out of standing water. The correct clearance depends on exposure, furniture design, and the way the cover will be secured.
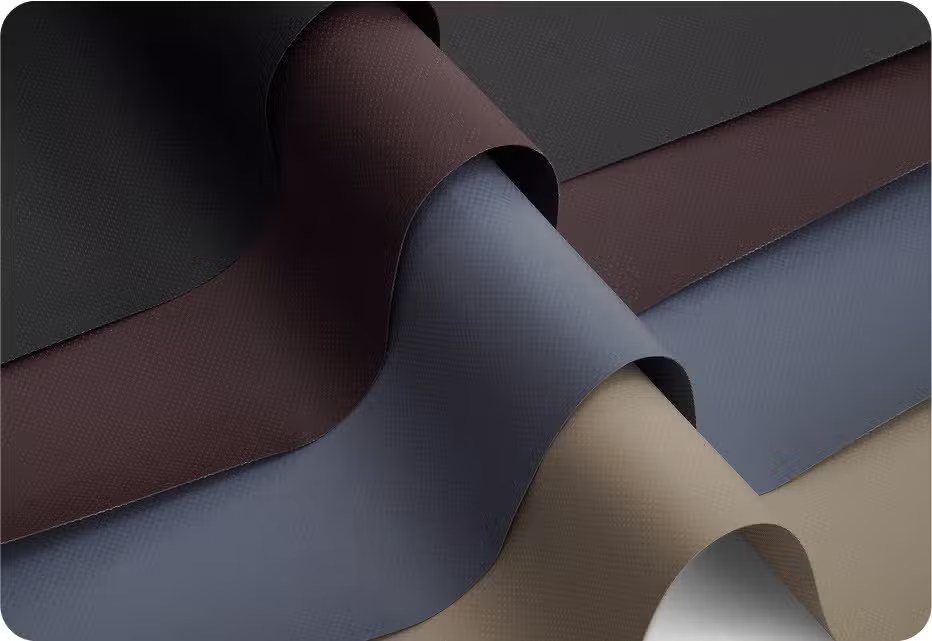
Identify stable legs or frame members for buckle straps. Avoid fastening around adjustable feet, fragile trim, or moving recliner parts. If the sectional sits against a wall, confirm that there is enough space to reach rear straps. Review CoversForge fabric options while considering weight and handling for a large one-piece cover.
Plan drainage across the inside corner
Water naturally moves toward low, unsupported areas. On an L-shaped sectional, the inside corner and gaps between modules can create a basin. Remove or rearrange loose back cushions only if the furniture maker permits it, and use broad, stable supports when a gentle runoff slope is needed.
Never place a sharp pole beneath the cover. A support should distribute pressure and remain lower than any seam or corner that could be overloaded in wind. The article on winter outdoor furniture cover setup includes additional cold-weather runoff checks.
Test the installation path on paper
A perfectly fitted pattern is not useful if it cannot pass over a tall back or tight wall-side corner. Note where you normally stand, which end you lift first, and whether the cover must clear a railing, planter, or fixed side table. Large covers may benefit from handles or a planned opening that reduces lifting distance.
Compare the finished sketch with the general How to Measure guide. The general guide organizes the submission; the L-shaped notes explain the sectional-specific turns and transitions.
Submit a measurement package that can be checked
Use one unit throughout, label every dimension, and include front, side, rear, and overhead photos. Add the sectional model or manufacturer when known, but do not rely on a model number in place of current measurements. Cushions, replacement feet, and configuration changes can alter the real size.
Browse patio furniture covers or explore custom outdoor covers for made-to-measure shapes. For an inside corner, reversible chaise, or stepped back, send the sketch and photos through Request a Quote so the installation and drainage plan can be reviewed with the dimensions.
Share This Article


