 Business





Dual-Grill Kitchen Island Covers: Measure Kamado Domes, Built-In Grills, Counters, and Vents

An outdoor kitchen island with a Kamado on the left [...]
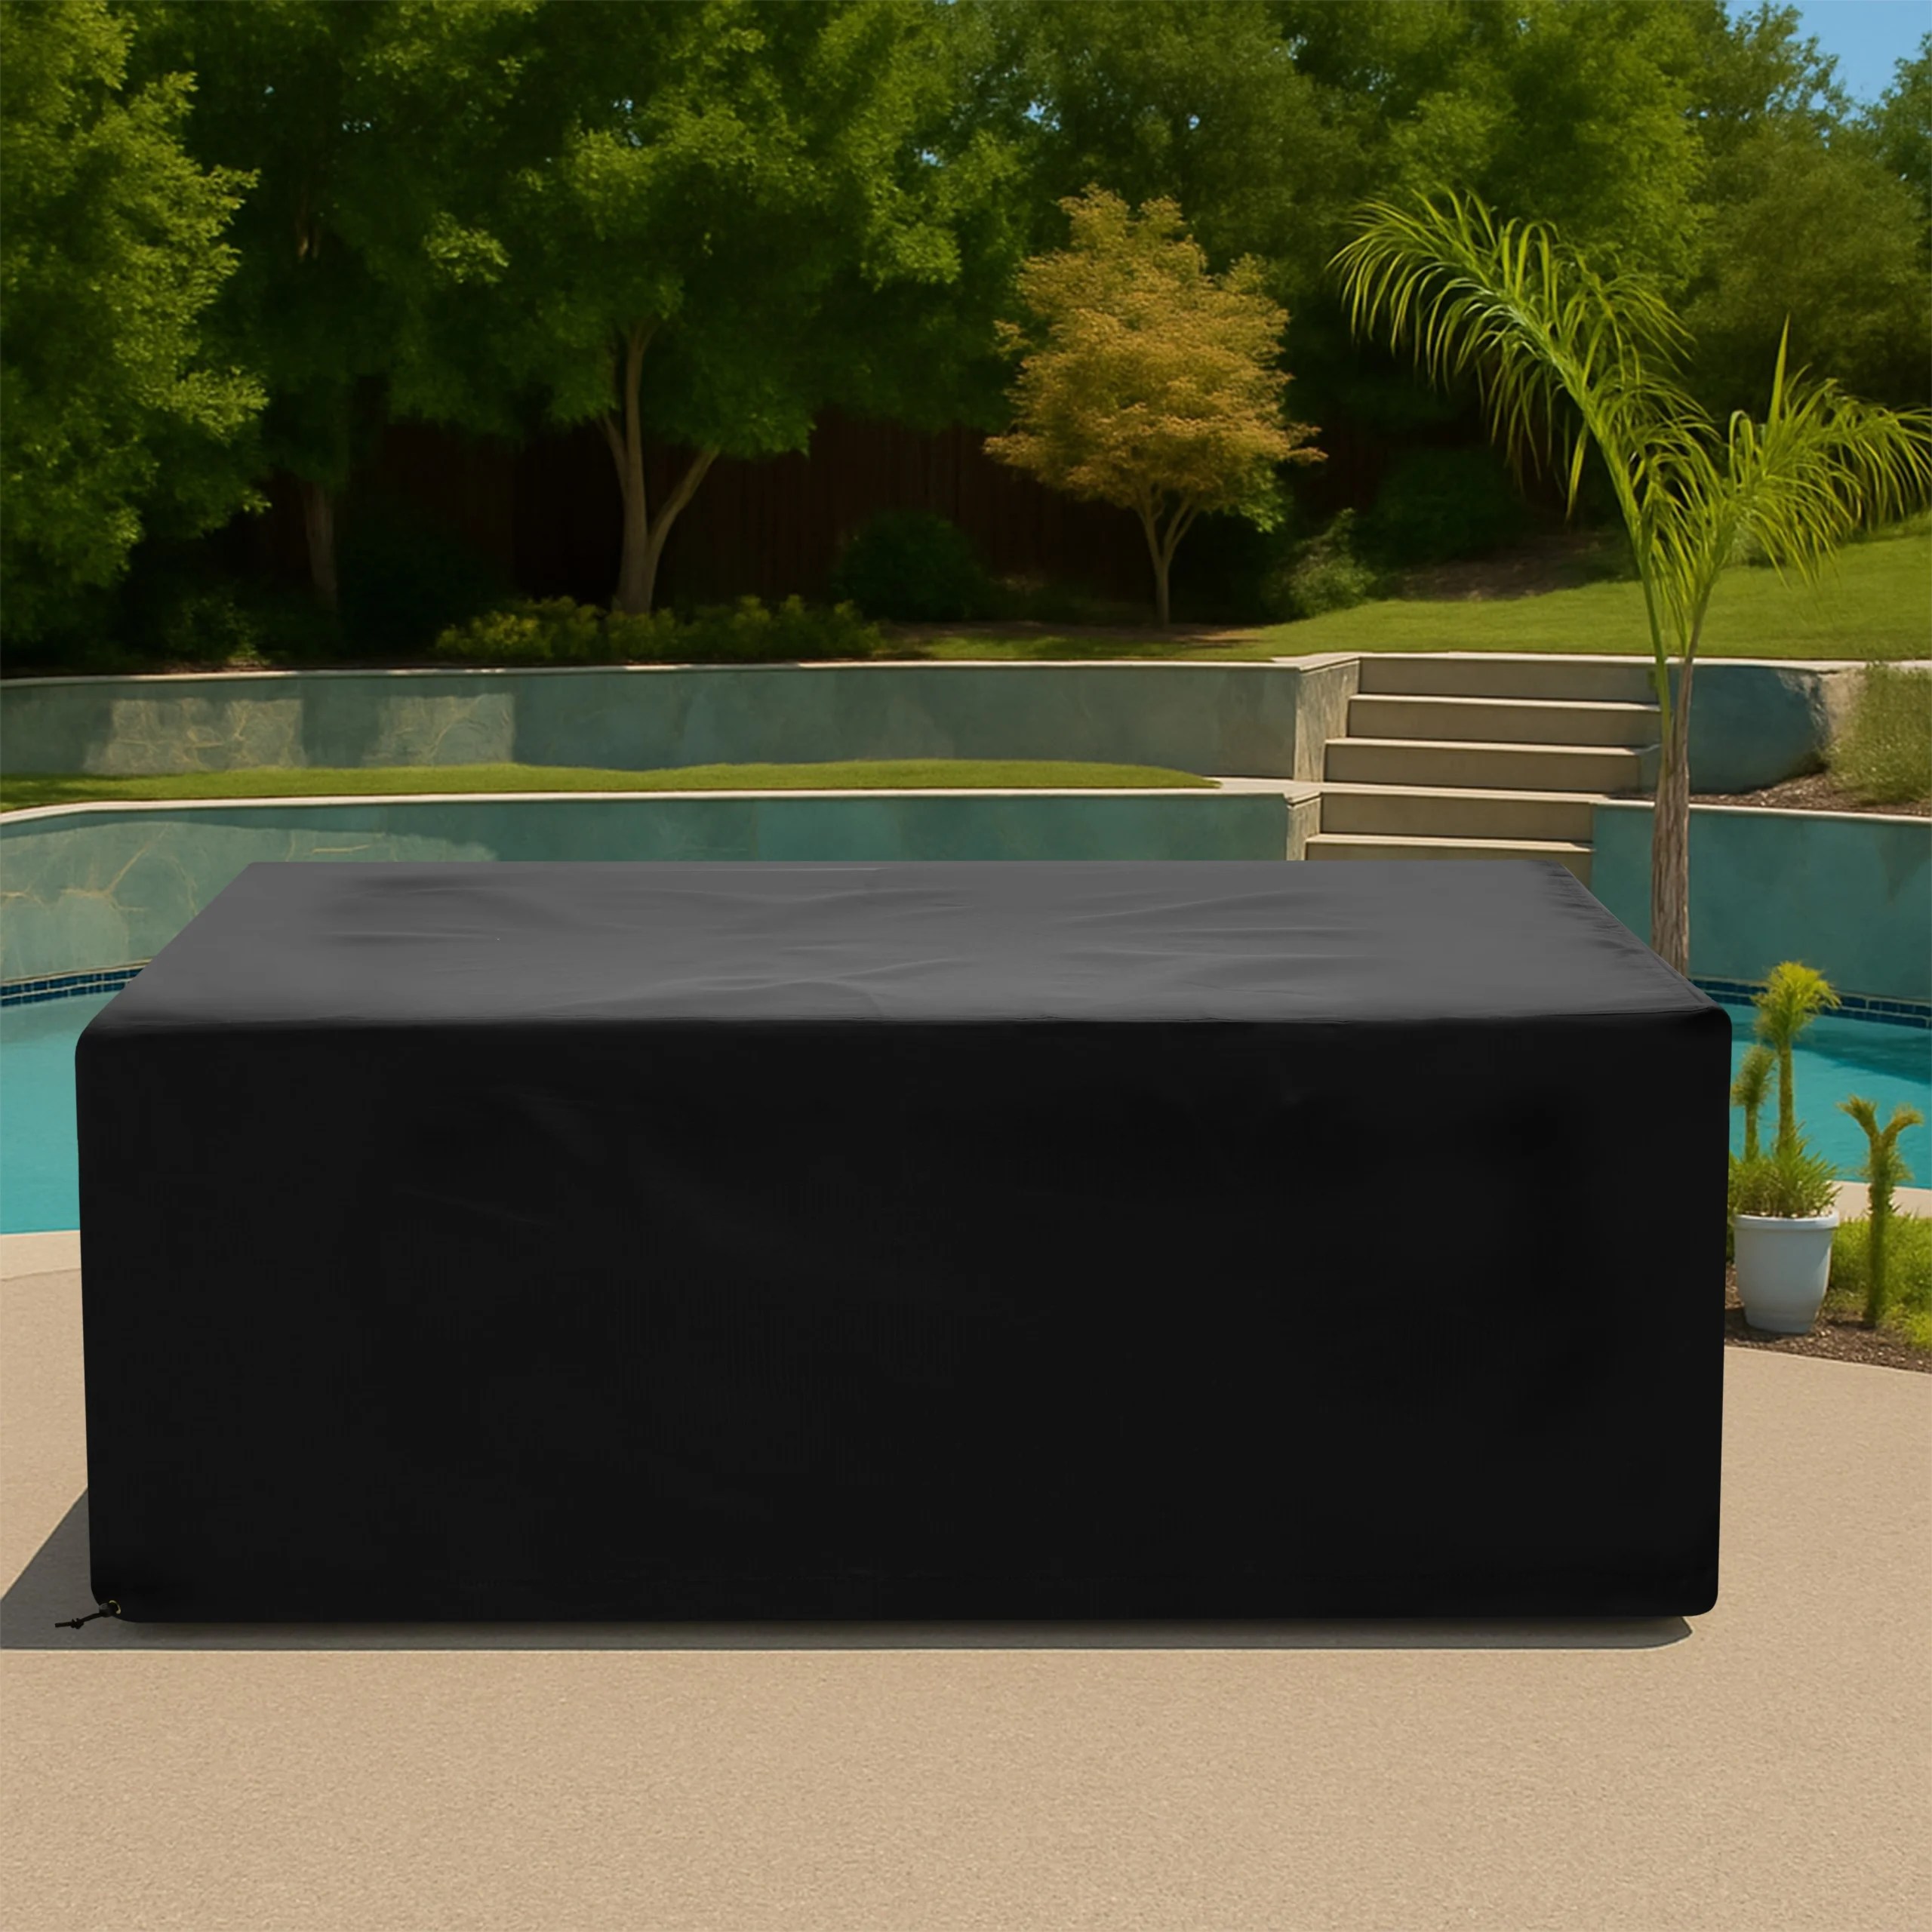
An outdoor kitchen island with a Kamado on the left and a built-in grill on the right has two high points, two heat systems, and a long counter between them. Dome hardware, hood handles, control panels, vents, utilities, and cabinet doors create an asymmetric profile. A custom kitchen island with left Kamado and right built-in grill cover needs a detailed shutdown-and-storage specification.
This is a storage cover, never an operating cover. Shut down, cool, clean, disconnect, and secure each appliance exactly as its manufacturer and fuel system require. Confirm there is no heat, flame, smoke, ember, gas leak, or energized accessory before fabric approaches the island. Remove the entire cover before inspection, ignition, cooking, or servicing.

Map the Left and Right Orientation
Stand on the service side and label the Kamado as left and built-in grill as right. Photograph the island from front, back, ends, and above. Mark the customer-facing side separately. This orientation should remain fixed in every drawing because reversing the elevations would put dome and hood panels over the wrong appliances.
Record the Complete Island Envelope
Use How to Measure to capture overall length, maximum depth, and base height at rigid edges. Include end caps, counter overhangs, backsplashes, side shelves, and stone projections. Measure cabinet setbacks below the counter so lower panels do not hang loosely from the widest upper point.
Measure the Kamado Dome Zone
Record the cooker body diameter, maximum dome width, closed height, hinge projection, top vent, handle, bands, and support cradle. Locate the dome center from the left end and front counter edge. Keep the lid closed and cold. Do not use the top vent as a lifting point or allow fabric tension to press on it.
Measure the Built-In Grill Zone
Capture closed hood width, depth, height, handle projection, rear clearance, rotisserie hardware, side trim, and control panel. Locate the grill center and both cutout edges from fixed island references. Remove loose tools and covers supplied for individual components unless the final storage specification explicitly includes them.
Document the Counter Transition
Measure the horizontal counter between the dome and hood, plus any step, seam, sink, raised ledge, or prep insert. Record high-point distances and the lowest valley between appliances. The cover needs controlled transitions rather than a tight straight bridge that rubs handles or creates a deep water pocket.
Protect Vents, Utilities, and Access Panels
Identify appliance ventilation, cabinet louvers, gas shutoffs, electrical outlets, drain lines, doors, and required inspection points. A fitted cover must not authorize blocking a vent or concealing a hazardous condition. Follow all appliance, fuel, electrical, and local safety instructions, and keep service access available only after full cover removal.
Choose Fabric for a Large Cooking Island
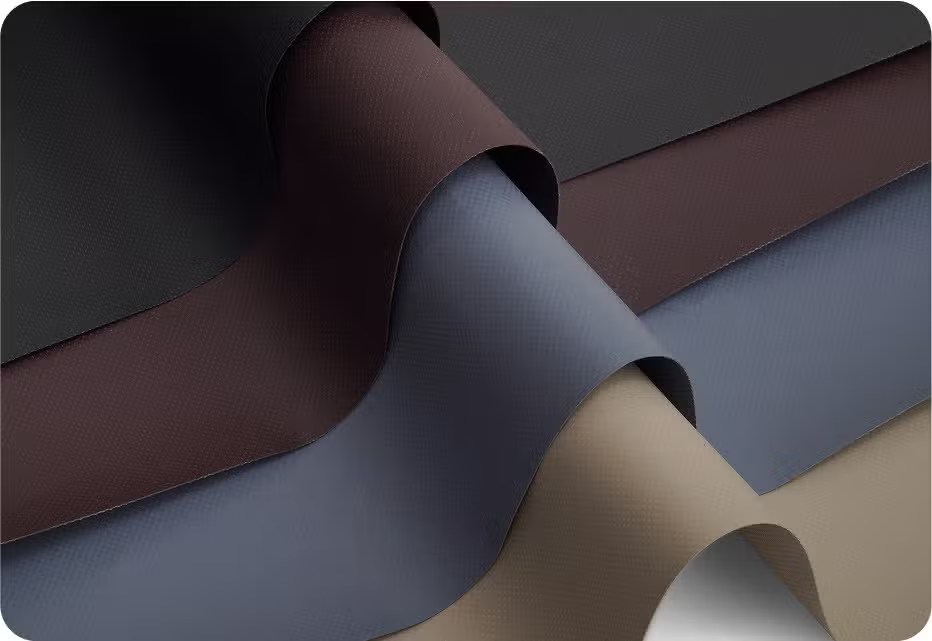
Compare water behavior, UV resistance, abrasion performance, heat limitations, flexibility, and finished weight on Our Fabrics. Browse Grill & Heating Covers and Custom Covers. No outdoor fabric makes it safe to cover warm cooking equipment.
Plan Drainage Between the Two Hoods
The dome, counter, and grill hood can direct water toward the middle. Record slopes and valleys with the appliances closed. Use only stable, noncombustible supports approved for the cold island. Do not place loose boards on controls, vents, ceramic surfaces, or stainless hoods to reshape the cover.
Use a Two-Person Installation Routine
Mark the left Kamado end and service side. After the documented shutdown check, lift the cover over both high points and settle panels without scraping the top vent or hood handle. Lower long sides evenly and secure only suitable stationary base locations. Keep closures away from valves, wires, drains, and hot zones.
Prepare the Dual-Grill Island Fit Brief
Send orientation, full island envelope, Kamado diameter and center, built-in grill dimensions and center, counter transitions, controls, vents, utilities, base setbacks, hem height, exposure, and labeled photos. Review the Left-Kamado and Right Built-In Grill Island Cover or Request a Quote.
Frequently Asked Questions
How long should the grills cool before covering?
Follow each appliance manufacturer’s shutdown and cooling instructions. Cover only after both systems and surrounding surfaces are fully cold.
Can I operate one grill while the other stays covered?
Do not use a shared island cover during any cooking or ignition. Remove it completely and keep it safely away from heat.
Why do the appliance centers matter?
Their locations let the fitted high panels align with the dome and hood instead of pulling diagonally across the counter.
Turn the Measurements Into a Clear Cover Brief
A dependable made-to-measure cover starts with one repeatable storage position, complete dimensions, labeled photos, safe-use limits, and a practical handling routine. CoversForge can review fit, fabric, access, exposure, and quantity for the documented application. Request a Quote when the specification is ready.
Share This Article

Written by : CoversForge
Follow Us
Latest Articles
September 15, 2026
September 15, 2026
September 15, 2026