 Business


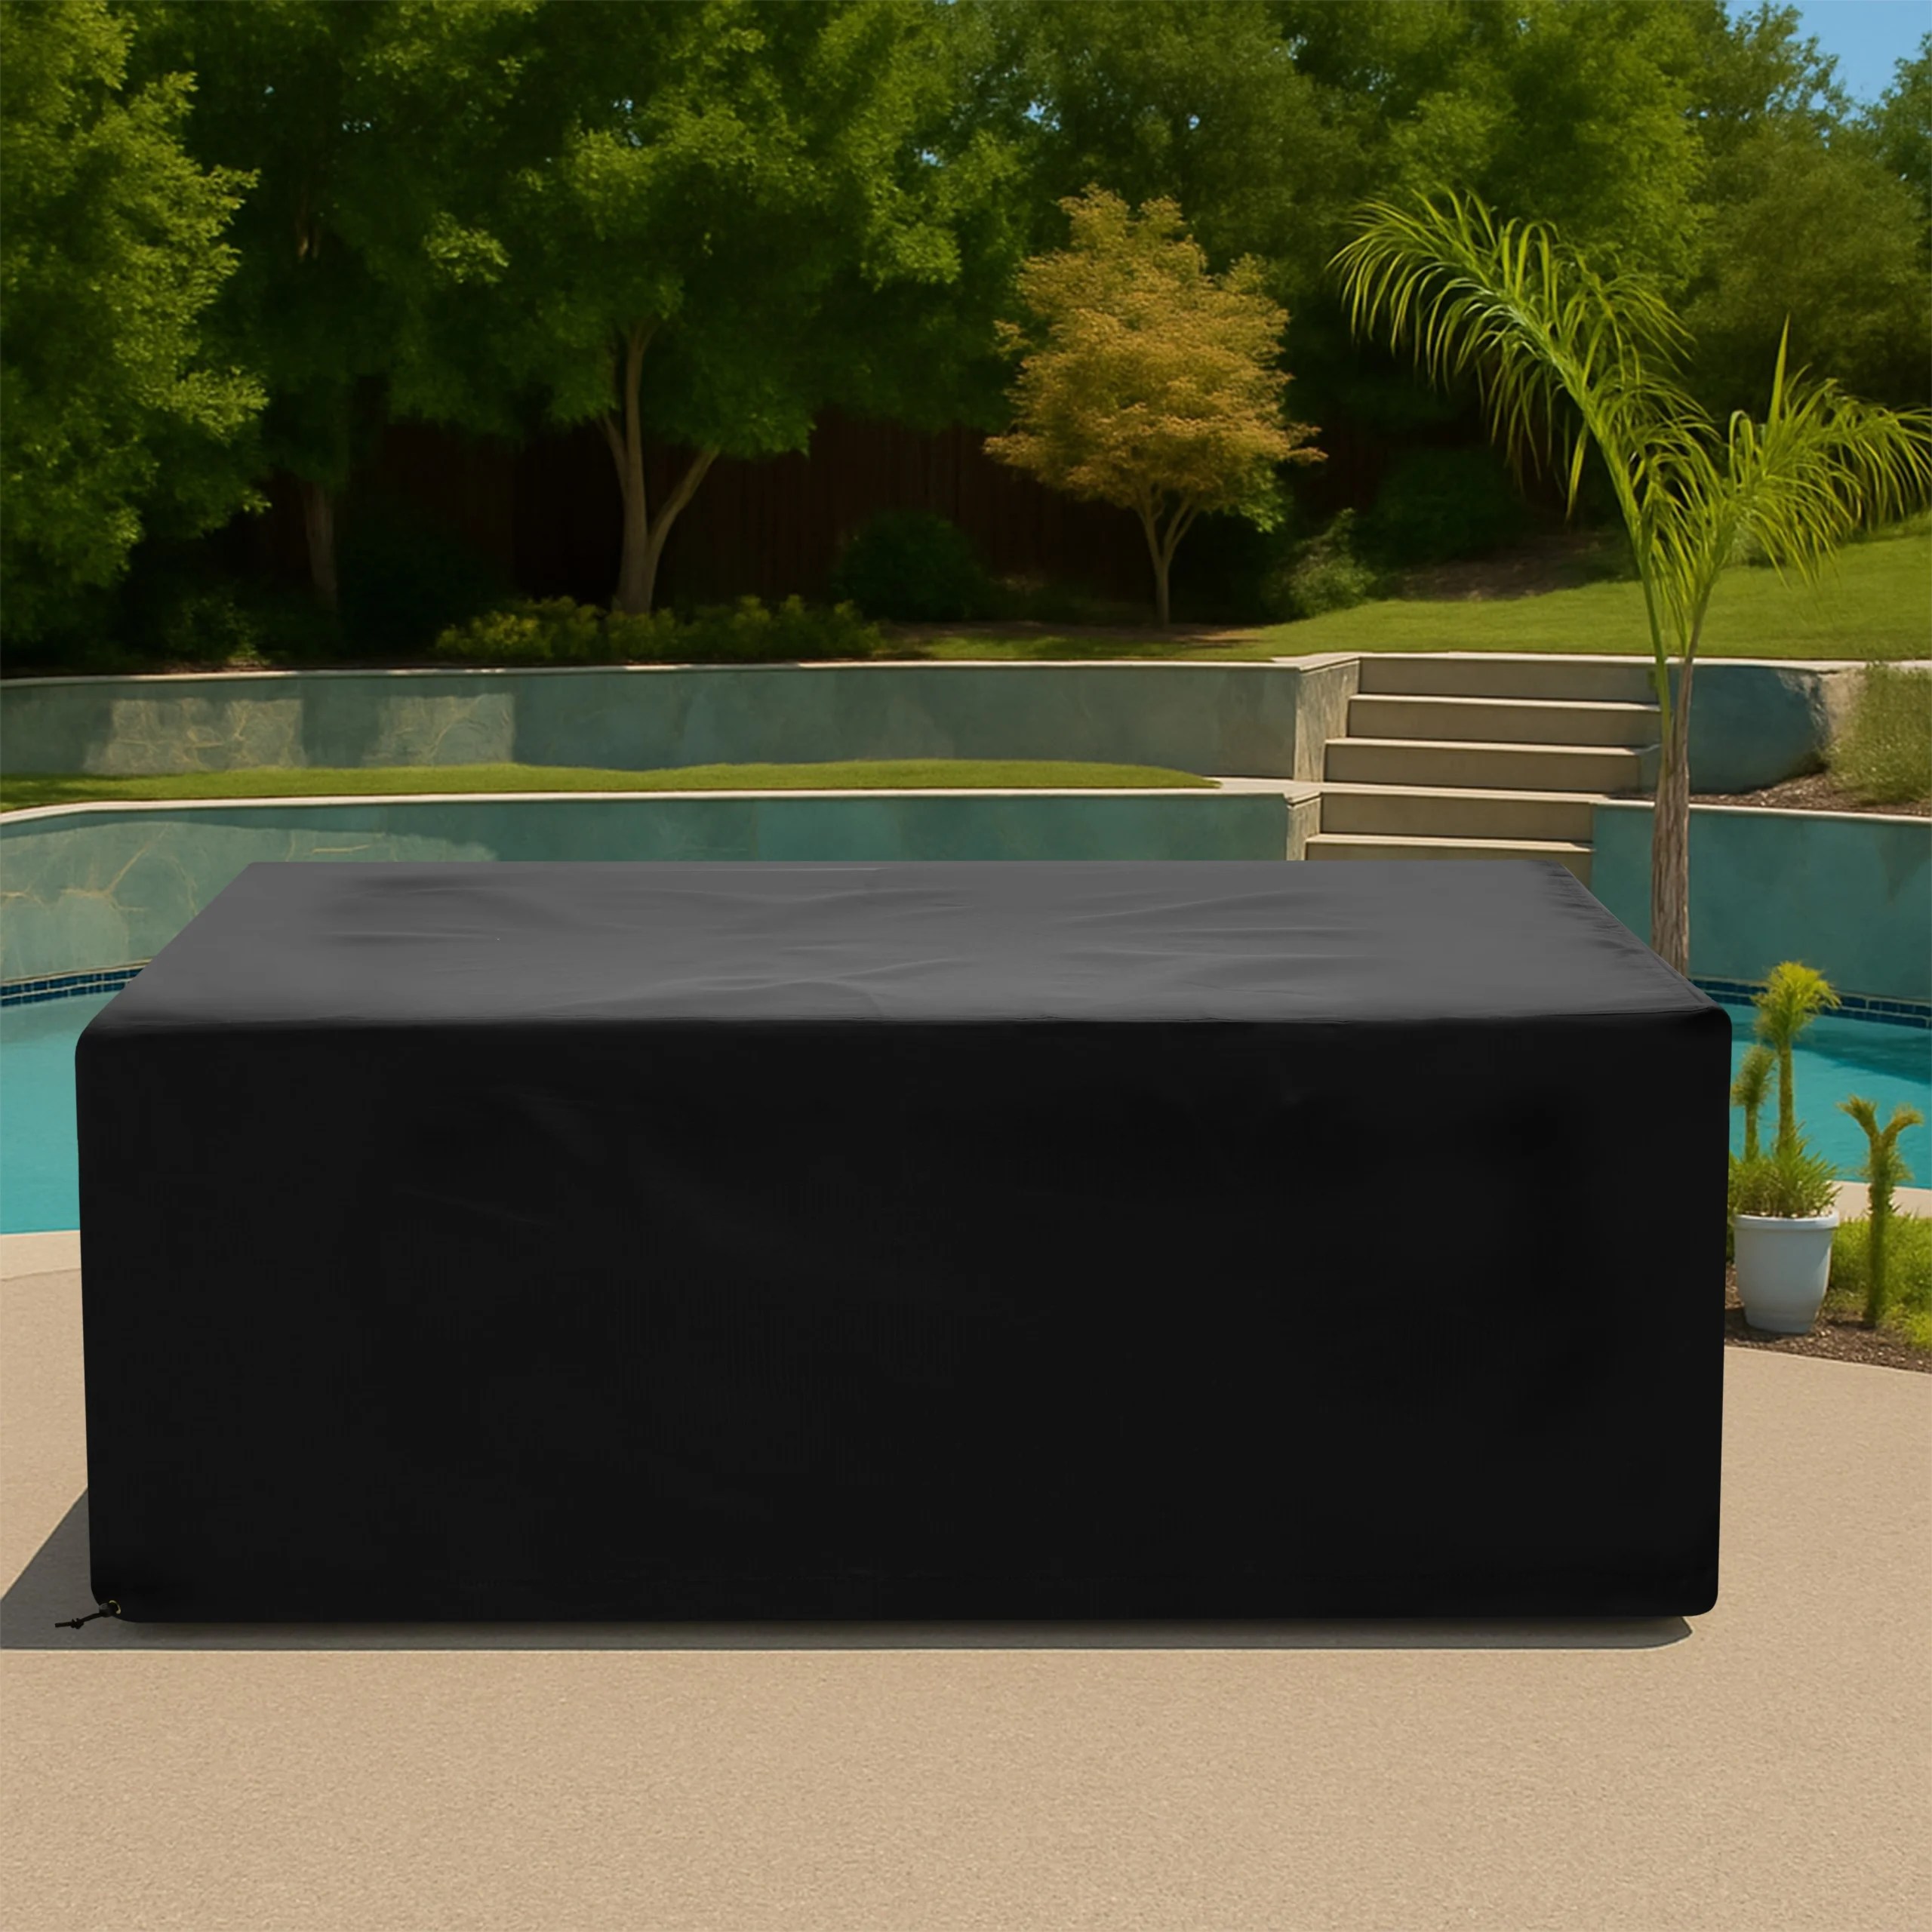




Golf Ball Dispenser Covers: Protect Hoppers, Screens, Chutes, and Pedestal Bases

Driving-range dispensers vary from compact token units to networked machines [...]
Driving-range dispensers vary from compact token units to networked machines with tall hoppers, screens, readers, chutes, doors, vents, and concrete-mounted bases. The widest projection may sit well below the cabinet top, and service clearances can differ on each side. A custom golf ball dispenser cover should be patterned from the exact machine in its closed, empty-or-approved, powered-down condition.
The cover is intended for controlled storage or temporary closure, not operation. Remove it before customers approach, before balls are loaded or dispensed, and before staff open a service panel. Follow the equipment maker and facility procedures for power isolation, cash handling, jam clearing, ventilation, weather exposure, and public-area safety.

Document the Machine and Closure Procedure
Record manufacturer, model, serial family, payment type, hopper capacity, service schedule, and whether balls remain inside during closure. Define who powers down the dispenser and how the bay is blocked from public use. A fabric layer is not a security cabinet, outage sign, or lockout; use the facility’s approved controls and barriers.
Measure the Cabinet in Horizontal Bands
Use How to Measure and record width and depth at the top hopper, screen or payment fascia, dispensing chute, lower cabinet, and pedestal. Add total height, corner radii, sloped faces, and base plate. Band measurements prevent the cover from hanging like a box around a machine whose front projects at several depths.
Map Screens, Readers, and Controls
Locate touchscreens, buttons, token slots, card readers, scanners, status lights, antennas, and receipt hardware. The cover should clear these parts without resting on a delicate display or trapping debris against a reader. Clean surfaces using approved methods, close shutters or hoods, and remove exposed keys before installing the cover.
Shape the Dispensing Chute and Ball Tray
Measure chute width, depth, height, lip, tray, gate, and the space where a basket is normally positioned. Decide whether removable baskets are stored elsewhere. Never leave loose balls where they can roll beneath the hem or into a walkway. A fitted projection can reduce excess fabric while avoiding pressure on a gate or sensor.
Respect Service Doors, Vents, and Drainage
Record hinge sides, latch projections, intake and exhaust positions, drain holes, and technician working clearances. Begin with a cool, dry machine and never cover operating electronics. Remove the textile completely for maintenance unless a deliberately specified adult-only access panel has been reviewed. Keep the hem above wash water and floor drains.
Include the Pedestal and Anchored Base
Measure pedestal taper, kick plates, anchor bolts, conduit entry, and any protective curb or bollard. The cover should stop above abrasive concrete and not bridge across a trip route. Do not use fabric closures to stabilize the machine, conceal loose anchors, or attach to electrical conduit. Structural concerns require qualified service before reopening.
Choose Fabric for Range Dust and Weather
Compare UV resistance, water behavior, abrasion performance, cleanability, and finished weight on Our Fabrics. Browse Equipment Covers. Driving ranges add turf dust, grass clippings, ball residue, and frequent staff handling, so favor a cover that can be removed cleanly and stored away from customer baskets.
Create an Opening and Closing Checklist
Before covering, empty the dispense area, isolate power as required, close service doors, inspect vents, sweep loose balls, and verify the public barrier. Before opening, remove and store the cover, inspect the machine and floor, restore power through the approved process, test the dispenser, and clear the bay only after staff confirm normal operation.
Prepare a Range-Ready Specification
Provide machine model, closure state, hopper plan, banded dimensions, screen and reader profile, chute, service doors, vents, pedestal, base, barriers, exposure, quantity, and labeled photos. Review the Golf Ball Dispenser Cover or contact Business Inquiries for multiple bays or repeatable facility standards.
Frequently Asked Questions
Can the dispenser run while covered?
No. Remove the cover before power-up, loading, testing, payment, dispensing, or public access.
Should golf balls remain in the hopper?
Follow the dispenser maker and facility procedure; document the approved closure condition before measuring the stored profile.
Does the cover secure cash or payment hardware?
No. Use the machine locks and the facility’s security, cash-handling, and access controls.
Turn the Measurements Into a CoversForge Brief
Good cover specifications start with the real storage position, safe-use limits, complete measurements, and labeled photos. CoversForge can review fit, fabric, handling, access, and quantity for the documented application. Request a Quote when the brief is ready.
Share This Article

Written by : CoversForge
Follow Us
Latest Articles
September 10, 2026
September 10, 2026
September 10, 2026