 Business


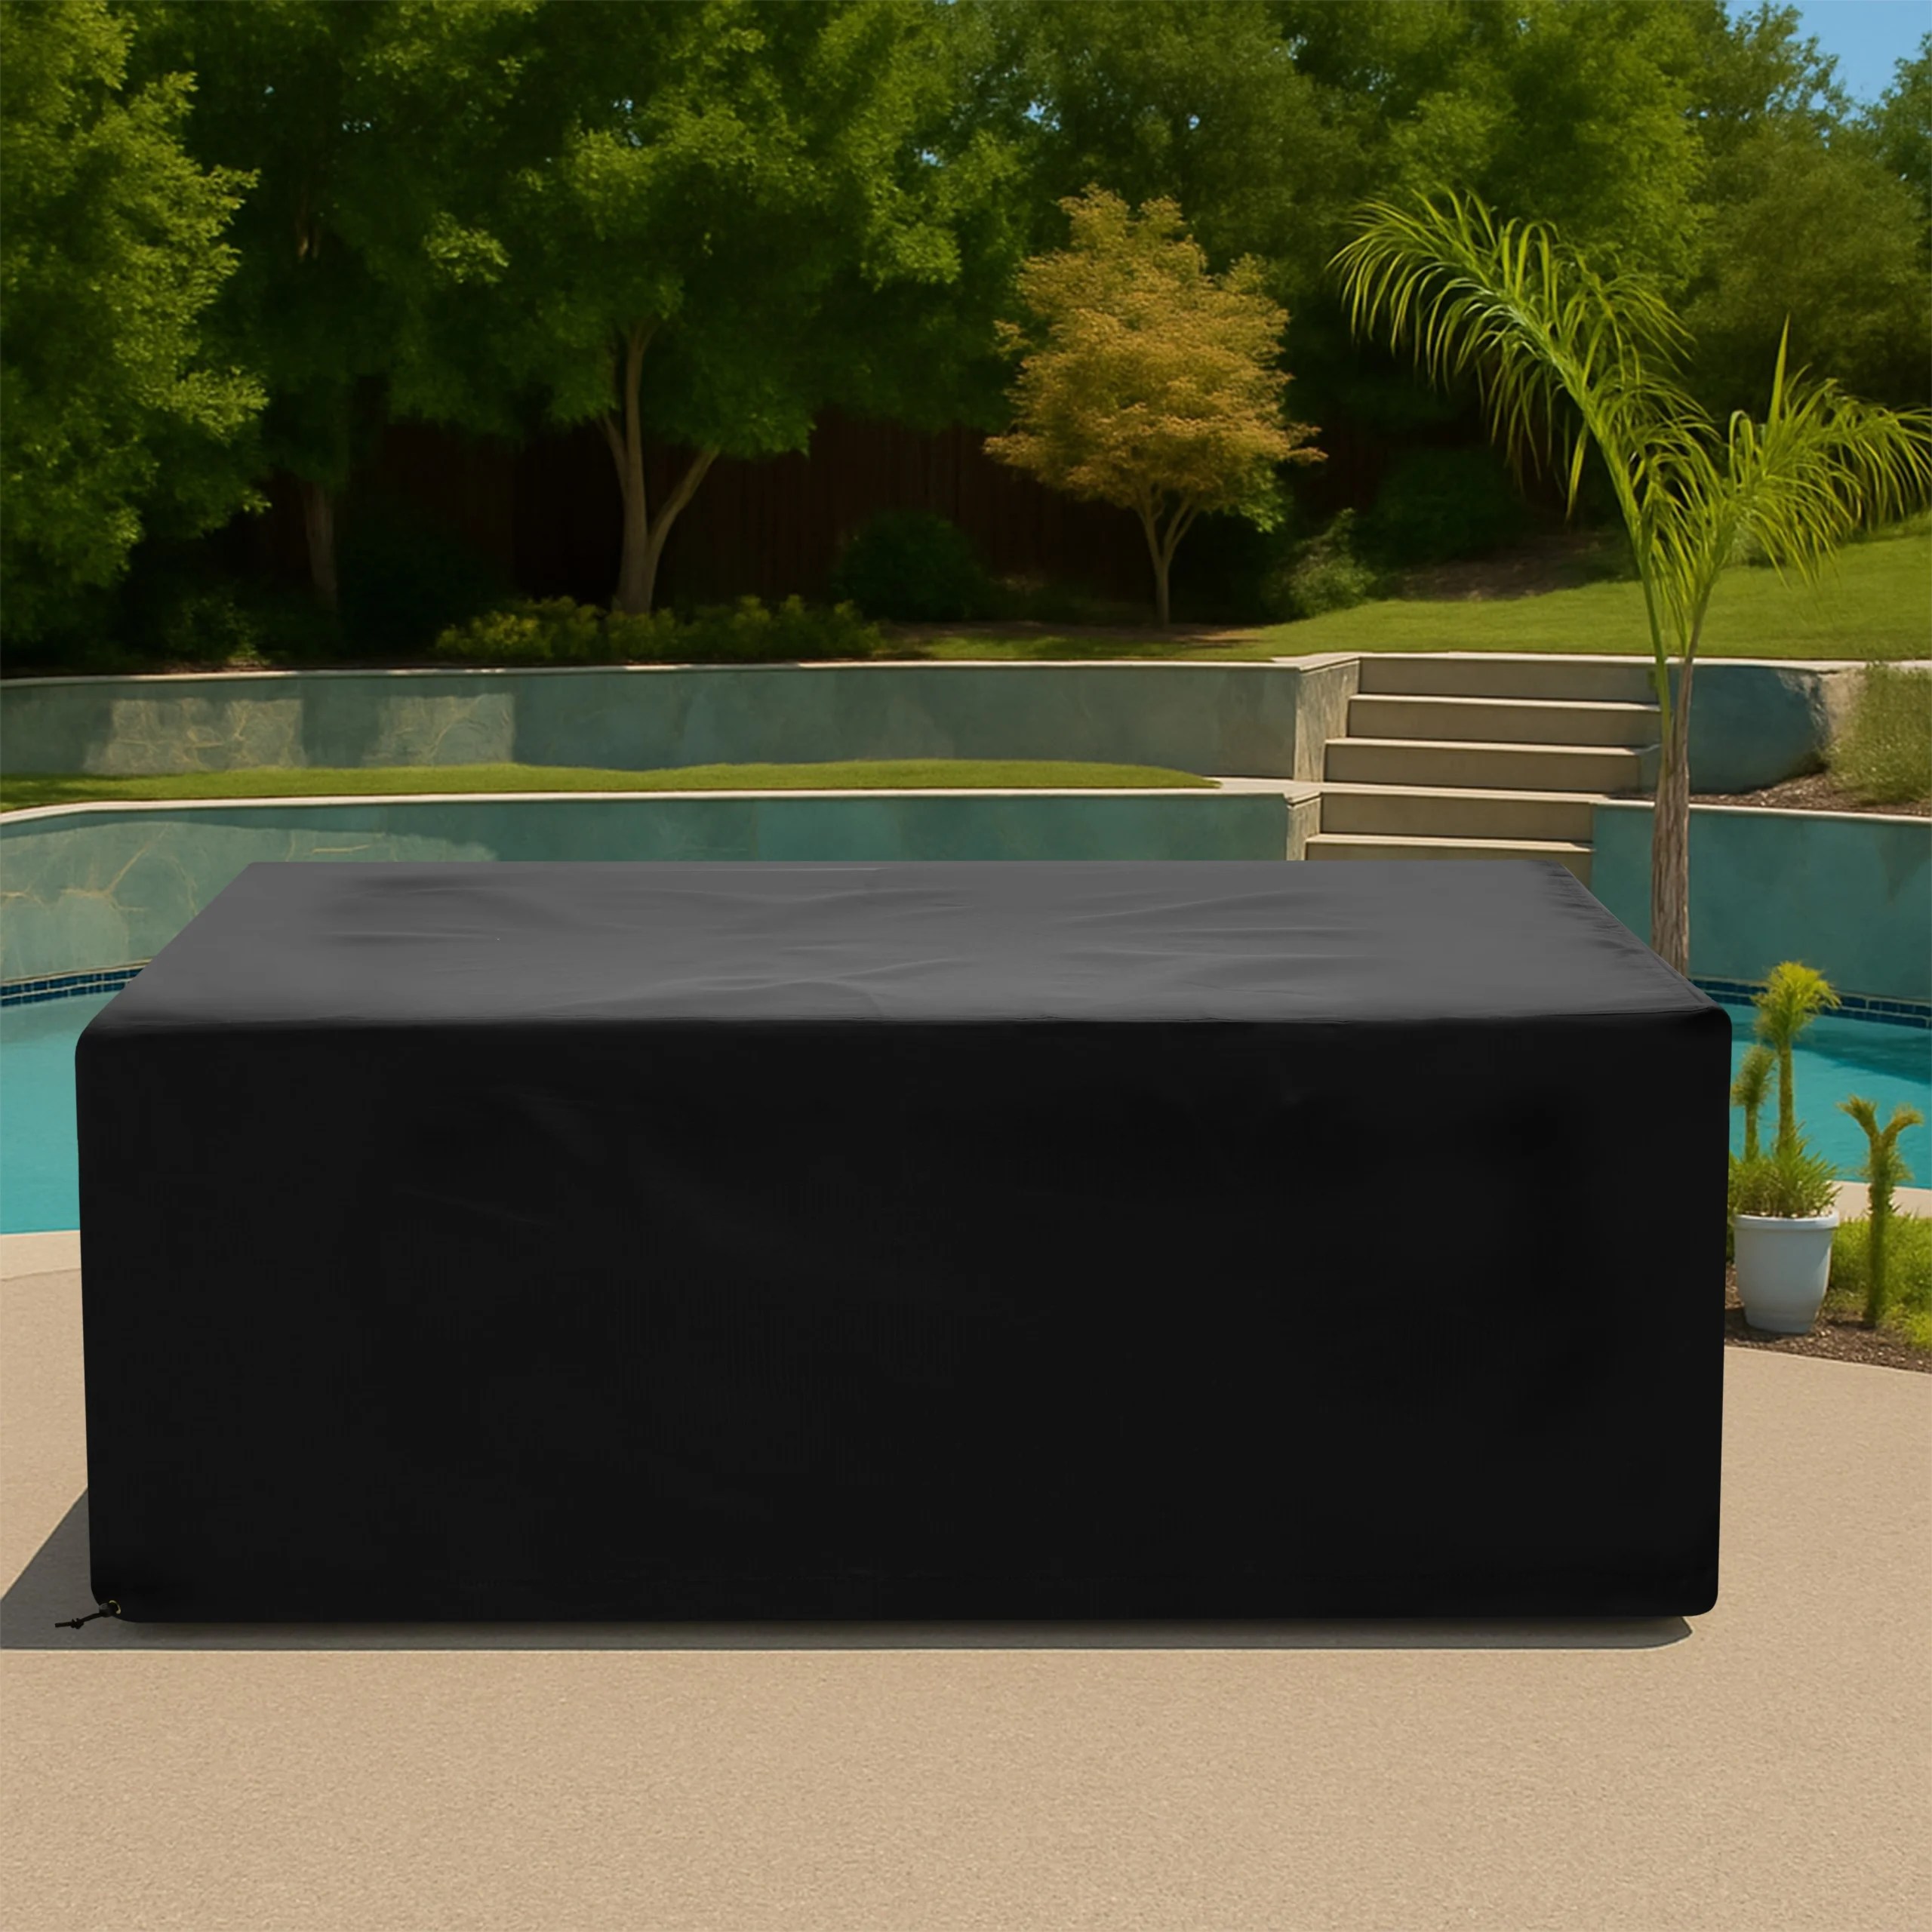




Cold Plunge Tub Covers: Measure Rims, Steps, Plumbing, and Drainage

Measure a custom rectangular cold plunge tub cover around the rim, steps, chiller lines, controls, drains, water crown, insulation, and secure access points.
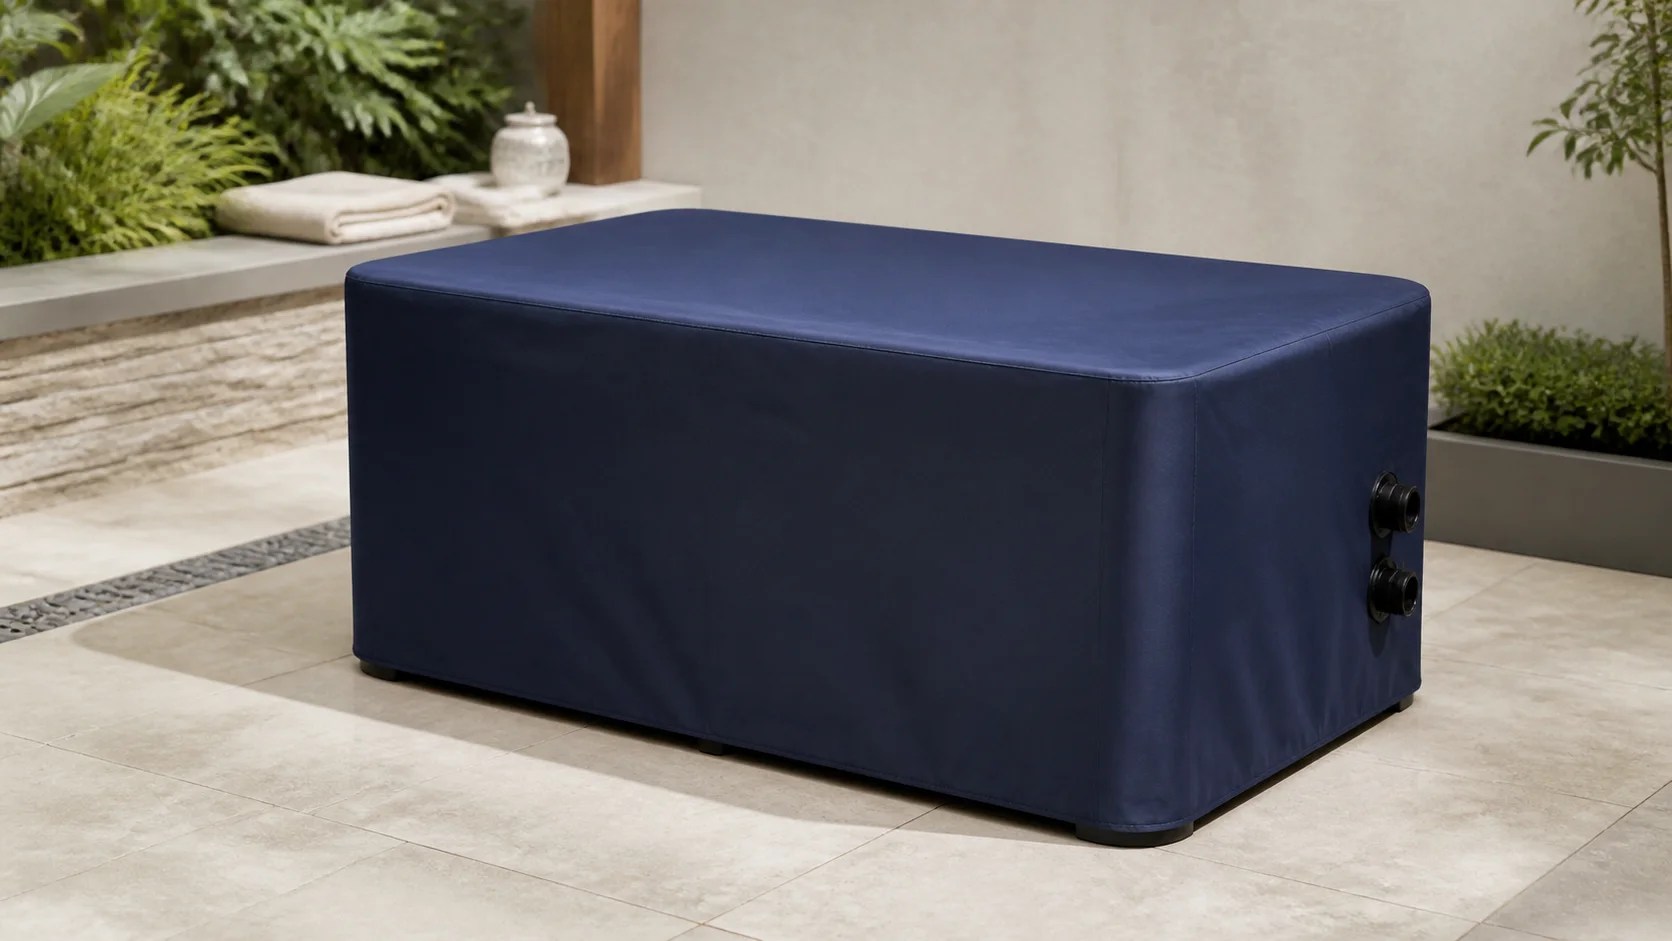
A rectangular plunge tub may combine a rigid rim, insulated walls, a water-filled basin, external chiller lines, controls, steps, and a drain. A flat tarp can dip into the water or press on plumbing, while a generic spa cover may miss the exact corner radius. A custom rectangular cold plunge tub cover should be planned around the installed system and its approved closed, unattended condition.
Follow the tub and chiller manufacturers for water treatment, freeze protection, electrical isolation, child safety, and cover requirements. A textile cover is not a load-bearing safety cover, thermal certification, or barrier against unsupervised access. If a compliant locking cover or rigid lid is required, that approved system takes priority.
Confirm the Cover’s Intended Role
Decide whether the fabric will protect a separate rigid lid, cover an empty winterized tub, or shield the exterior during downtime. Document the water level, chiller state, and accessories that remain installed. Never position fabric as a walking surface or child-safety device. Keep rescue, electrical, sanitation, and accessibility provisions exactly as the equipment and site rules require.
Measure the Rim and Corner Radius
Use How to Measure to record maximum outside length and width, height to the selected hem, rim thickness, and the radius or bevel at every corner. Rectangular tubs can taper toward the base, so measure upper, middle, and lower zones. Mark any raised headrest, lid handle, latch, or logo that changes the top envelope.
Map Steps, Rails, and Entry Accessories
Record removable or fixed steps, handrails, exercise attachments, and nearby decking. Decide whether accessories stay under the cover or are stored separately. A single pattern that bridges from tub to step may create a large water pocket or trip edge. Keep required handrail access and accessible routes clear, and remove the cover completely before anyone enters the water.
Protect Chiller Lines and Controls
Locate supply and return hoses, unions, pumps, filters, vents, cable entries, control panels, and emergency disconnects. Do not bend hoses or rotate fittings to shrink the profile. Keep seams and straps away from connectors. The cover must never block required chiller airflow or invite operation through fabric; follow lockout and service procedures with the cover removed.
Shape the Top to Manage Rainwater
A broad rectangular opening needs a supported drainage plan. If an approved rigid lid is installed, measure its crown and handles. If the manufacturer permits another support method, document it precisely and use only smooth, stable components intended for that system. Never improvise a sharp center prop, and never allow a fabric panel to sag into treated water where it can become heavy or contaminated.
Choose Fabric for Wet-Area Handling
Compare water performance, UV resistance, abrasion, flexibility, and finished weight on Our Fabrics. Related made-to-measure solutions are available through Custom Covers. Select a cover that staff can remove without dragging it across the deck, but do not describe fabric as a certified insulation or safety barrier unless it has that specific approval.
Plan Secure, Visible Closures
Use only approved exterior frame zones that do not cross drains, vents, controls, or access panels. Closures should be obvious and reachable from dry, stable footing. They must not create loops in a walking path or obstruct a required locking lid. Store the removed cover so wet fabric cannot be pulled back across clean water or electrical equipment.
Maintain Water and Exterior Hygiene
Keep sanitizer, filtration, and cleaning routines separate from cover care. Before fitting, wipe the rim, confirm the exterior and rigid lid are dry, and inspect for leaks. After removal, keep the inside face off the deck and allow it to dry. Periodically inspect corners, seams, plumbing openings, and the tub wall for moisture, biofilm, abrasion, or insects.
Perform a No-User Trial Fit
With the plunge unoccupied and secured, identify front, back, control, and plumbing sides. Lower the cover without stepping on the tub or leaning over water. Confirm that the rim carries the intended fit, the top drains, the hem clears the wet deck, and no closure contacts a hose or cable. Remove the cover fully and verify that the entry path, rigid lid, and controls work normally. Recheck after rain and after the first maintenance cycle, then revise any water pocket or rubbing point.
Build a Complete Plunge-Tub Request
Provide make and model, installed dimensions, corner radii, rigid-lid profile, water or winterized condition, steps and rails, chiller and plumbing locations, control access, deck exposure, closure zones, and labeled photos. Review the Custom Rectangular Cold Plunge Tub Cover or use Request a Quote. Wellness facilities can coordinate repeated installations through Business Inquiries.
Frequently Asked Questions
Is a fabric plunge cover a child-safety cover?
No. Use the approved locking or load-rated safety system required by the tub maker and local rules. A textile weather cover must not be presented as a safety barrier.
Can the chiller run under the cover?
Only if the complete installed arrangement is explicitly permitted by the chiller and tub manufacturers and required airflow remains open. Never operate through fabric or block vents and disconnects.
How can rainwater pooling be reduced?
Measure the approved rigid lid or manufacturer-permitted support profile and create a stable slope. Do not improvise sharp props or pull the cover tightly against plumbing and controls.
Share This Article

Written by : CoversForge
Follow Us
Latest Articles
September 9, 2026
September 9, 2026