 Business






ATV Covers: Measure Handlebars, Racks, Winches, and Tires

Measure a custom ATV cover around cooled bodywork, handlebars, mirrors, racks, winches, tires, suspension, accessories, ventilation, and secure storage.
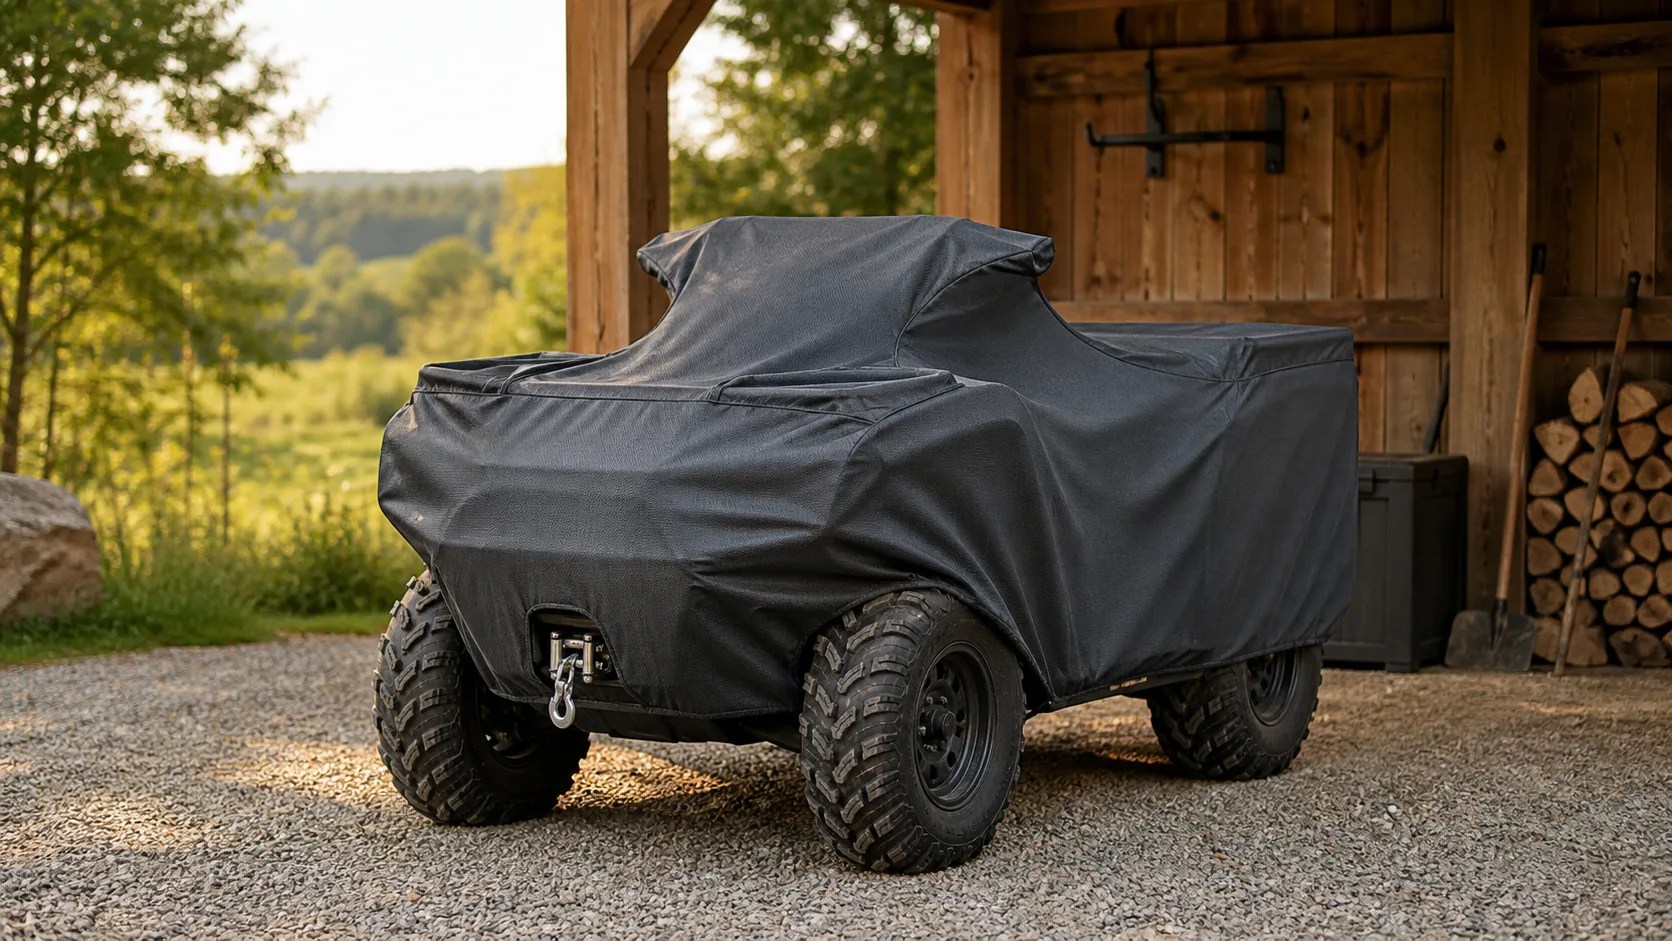
An ATV is wider at its tires, handlebars, or racks depending on the model, and accessories can completely change the storage profile. Mirrors, a front winch, cargo boxes, hand guards, and a rear hitch all create localized projections. A dependable custom ATV cover begins with the machine parked, cooled, clean, and configured exactly as it will remain between rides.
Follow the owner’s manual for shutdown, parking brake, fuel, battery, and long-term storage. Remove helmets, tools, wet cargo, and loose recovery gear. Photograph both sides and decide whether removable mirrors, a windshield, or a plow stays installed. The cover is for inactive storage only; remove it before starting, riding, loading, refueling, charging, or servicing the ATV.
Lock the Steering and Accessory Configuration
Set the handlebars in one repeatable position and note whether the steering lock is used. Record every installed accessory, including windshield, mirrors, hand guards, rack boxes, gun racks, sprayers, plow mounts, and antennas. A later accessory change can invalidate the pattern. Do not bend mirrors or cables inward merely to create a smaller measurement unless the manufacturer specifically approves that storage position.
Measure the Full Vehicle Envelope
Follow How to Measure. Record overall length from bumper or winch to rear rack or hitch, maximum width across tires, racks, or bars, and maximum height at the windshield, mirrors, or controls. Add wheelbase, tire diameter, ground clearance, and the fore-aft coordinates of high points. Use rigid outside dimensions rather than tracing plastic body curves.
Map Handlebars, Mirrors, and Controls
Locate grips, brake levers, throttle, hand guards, mirrors, instrument pod, and cable loops. Keep seams and closures away from levers so fitting the cover cannot apply control pressure. Mark the front clearly and use shaped room around asymmetric mirrors. Repair broken plastics and sharp accessory brackets before covering; textile reinforcement is not a substitute for safe vehicle maintenance.
Define Rack, Box, and Seat Profiles
Measure front and rear racks independently, including rail height and corner radii. If a cargo box remains, record lid hinges, latches, and the highest rigid point. Measure the seat without compressing foam and decide whether a removable backrest stays attached. Wet cargo and damp seat covers should be removed and dried rather than enclosed beneath the outer cover.
Account for Winches and Tow Hardware
Record the winch housing, fairlead, hook storage point, synthetic rope or cable path, plow mount, tow ball, and receiver projection. The winch should be inactive and the hook secured as its maker directs. Do not wrap fabric around a cable under tension. Keep the rear hem clear of sharp hitch hardware and ensure no closure can be mistaken for a recovery strap.
Cool, Clean, and Dry Before Covering
Allow the engine, exhaust, brakes, and driveline to cool fully. Remove mud, vegetation, salt, and chemical residue according to the ATV manual, then dry low areas and racks. Do not cover a fuel odor, leak, hot muffler, or charging battery setup unless the equipment maker explicitly permits the exact arrangement. Maintain the vehicle’s scheduled inspections during storage.
Choose Fabric and Drainage for the Site
Compare abrasion, UV resistance, water performance, flexibility, and handling weight on Our Fabrics. Browse related Vehicle Covers and Equipment Covers. Shape runoff from the highest accessory toward the sides, keep the hem above standing water, and preserve appropriate air movement. Never create a water peak with an unstable object.
Secure Around Stable, Cool Structure
Use approved frame or rack zones that stay clear of wheels, suspension, brake lines, cables, exhaust, and moving steering parts. Retain loose strap tails and check that the cover cannot contact a heater, charger, or ignition source. Remove every closure before uncovering. The finished cover should never be left on during trailering or transport unless separately designed and approved for that use.
Test the Fit Around Tires and Suspension
Make the first installation on level ground with the suspension at its normal parked height and tires correctly inflated. Align the windshield or handlebar zone, settle the rack panels, and then check wheel clearance without crawling beneath the vehicle. The hem should remain consistently above the ground while closures reach approved points without pulling the body panel sideways. Remove the cover and look for transfer from mud, hot surfaces, sharp rack corners, or a protruding winch hook. Recheck after the first rain and windy day. If the cover shifts when the steering is locked, document that exact position and revise the pattern instead of adding straps near moving components.
Submit a Complete ATV Specification
Provide make, model, year, steering position, overall dimensions, tire and rack profile, mirror and windshield details, winch and hitch projections, accessory list, storage exposure, fastening zones, and labeled photos. Review the Custom ATV Cover, browse Custom Covers, or use Request a Quote. Fleet programs can use Business Inquiries.
Frequently Asked Questions
Should ATV mirrors and windshields stay installed for measuring?
Measure the exact storage configuration you plan to use. If accessories remain installed, include their maximum width, height, and projection; if removed, document that routine.
Can one ATV cover fit after adding a cargo box or plow mount?
Not reliably. Cargo boxes, windshields, racks, winches, and plow hardware change high points and the overall envelope, so remeasure after material accessory changes.
Can a fitted ATV cover be used for trailering?
A normal storage cover should be removed before transport. Trailering creates different wind loads and attachment risks and requires a product specifically designed and approved for that use.
Share This Article

Written by : CoversForge
Follow Us
Latest Articles
September 10, 2026
September 10, 2026
September 10, 2026