 Business


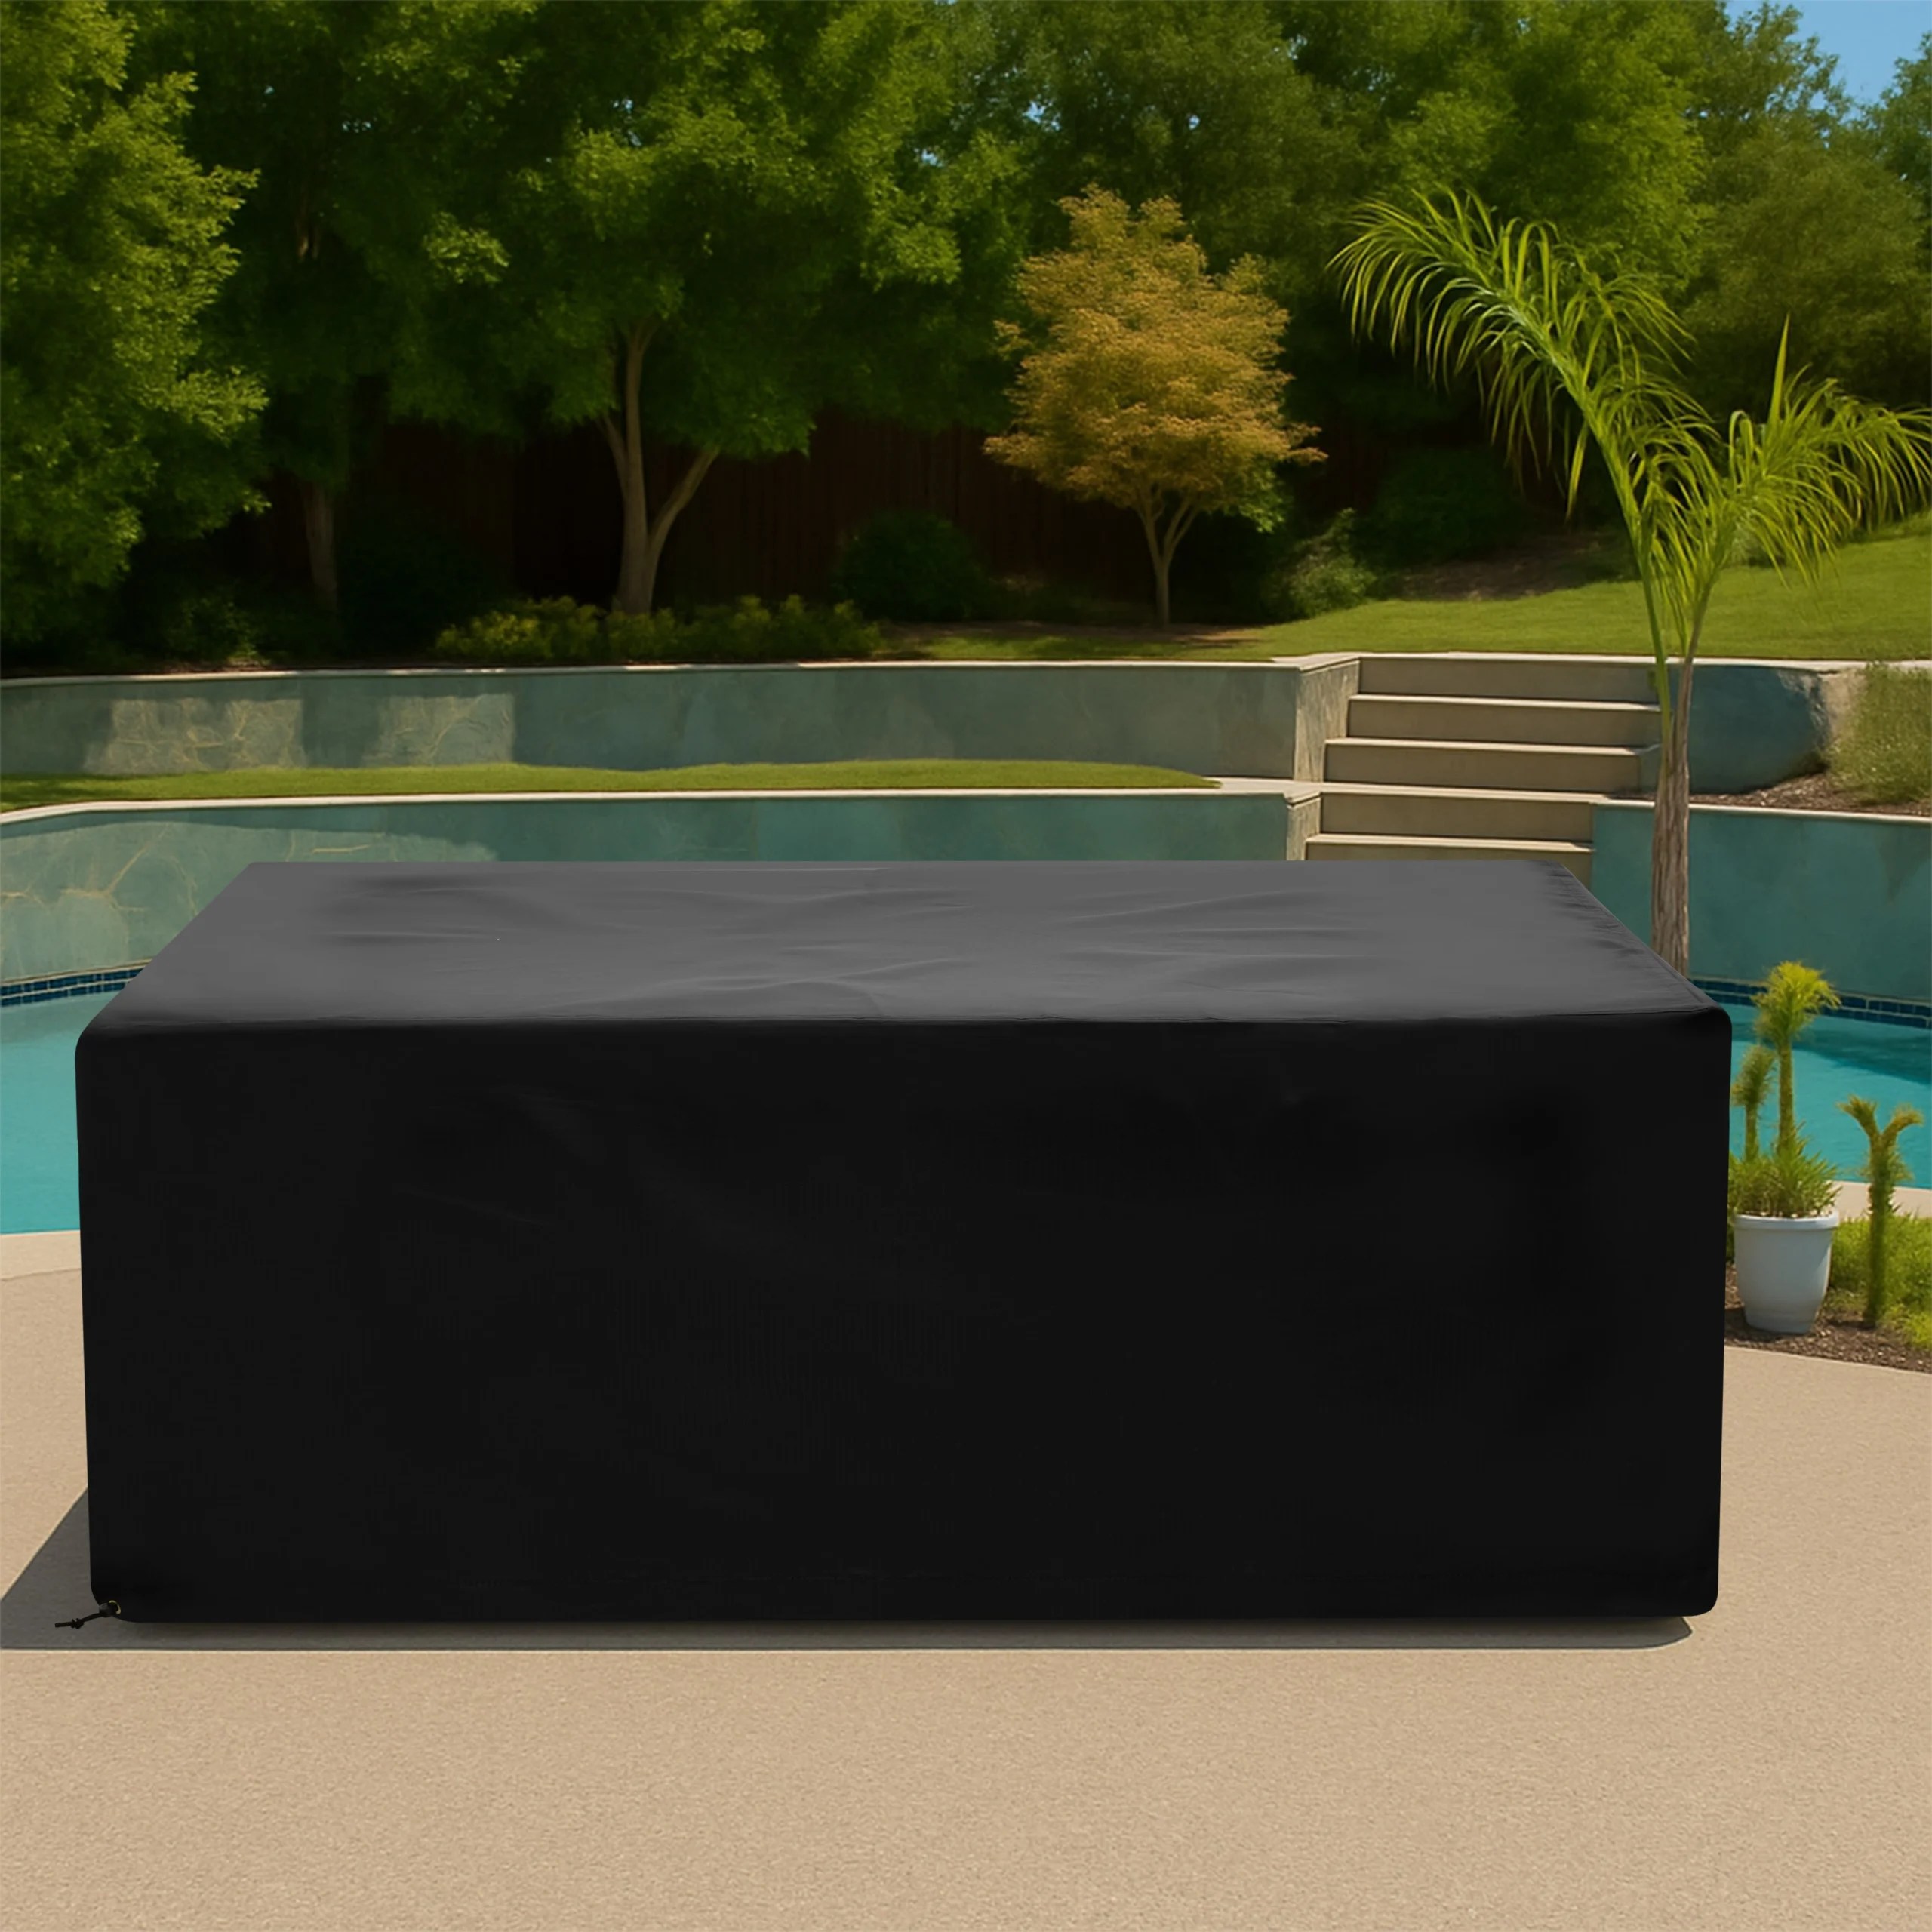




Popcorn Machine Covers: Protect Glass, Kettles, Vents, and Serving Areas

A concession popcorn machine combines fragile glass or acrylic panels, [...]
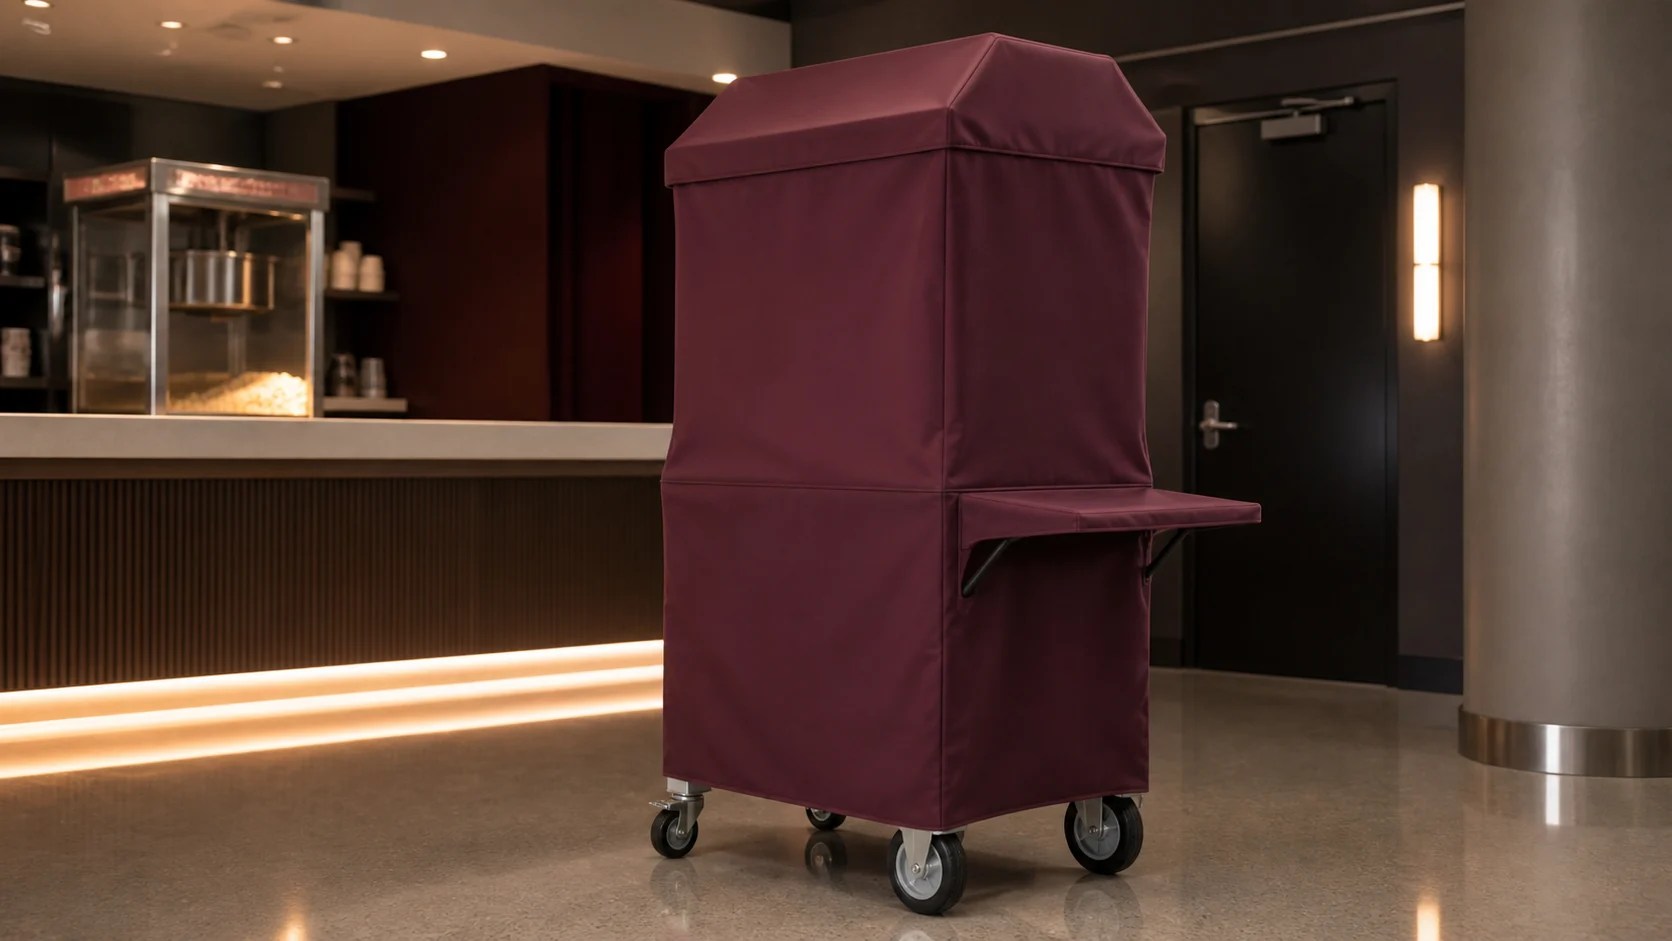
A concession popcorn machine combines fragile glass or acrylic panels, a hot kettle, electrical controls, vents, warming decks, doors, shelves, handles, and sometimes a wheeled cart. That layered profile deserves more than a loose dust sheet. A custom popcorn machine cover can support clean shutdown storage when it is shaped around the full cool, empty, and sanitized unit without blocking required labels or becoming part of food service operation.
Follow the machine manual and food-safety procedures before measuring or covering. Switch off and unplug as directed, let the kettle and lamps cool fully, remove food and oil residue, empty crumbs, clean approved surfaces, and allow every part to dry. Never place a cover on a hot machine or use it during cooking, warming, cleaning, charging, transport, or service.
Define What the Cover Includes
Decide whether the cover protects only the upper cabinet, the cabinet plus serving shelf, or the entire cart to the lower frame. Record whether doors close, trays slide in, the kettle stays mounted, and accessories move to separate storage. Lock casters as directed and choose one parking position. A pattern measured with a side shelf extended will not fit the same way when the shelf folds, so document one repeatable configuration.
Measure the Glass Cabinet Safely
Use exterior straight dimensions from How to Measure. Record cabinet width, depth, and height plus roof trim, corner posts, hinges, handles, door swing hardware, and any sign frame. Do not press the tape against hot, cracked, or loose glazing. Note projecting fasteners and sharp trim that could abrade fabric. The cover needs enough installation ease to pass over upper corners without rubbing or loading fragile panels.
Map the Kettle and Ventilation Zone
Identify the kettle housing, exhaust or steam vents, lamp hood, cord exit, and cooling openings. The unit must be fully cool and dry before the cover is installed. Do not make a tight cap that traps residual heat, moisture, or odor around the upper cabinet. If the manufacturer requires doors or vents to remain open during storage, incorporate that approved setup into the dimensions and keep the cover clear of the ventilation path.
Include Doors, Trays, and Controls
Measure closed doors, latches, control panels, switches, crumb trays, warming decks, and serving openings from fixed cabinet references. All food-contact parts should be cleaned and stored as required before covering. An access flap can be considered for identification or inspection only if it does not encourage operation through the fabric. Keep the power cord disconnected and routed according to the manual, never pinched beneath a closure.
Account for the Cart and Shelves
For a full cart cover, record handle projections, serving shelf depth, lower cabinet doors, wheelbase, caster diameter, bumpers, and decorative rails. Fold or remove shelves only in their approved position. The hem should stay above the floor so it cannot collect mop water, grease, or outdoor splash. Closures must not wrap around wheel brakes or become a trip loop in concession aisles.
Choose Fabric for the Storage Location
Compare water performance, UV, abrasion, cleanability, surface compatibility, and handling weight on Our Fabrics. Related commercial units can be explored through Equipment Covers. The food-service operator must confirm sanitation and material restrictions for the location. Keep the cover outside active preparation zones, clean it by approved methods, and store it dry where it cannot transfer dust back to sanitized surfaces.
Plan a Clean Installation Routine
Assign the sequence: shut down, cool, empty, clean, dry, inspect, close, cover, and secure. Staff should lift the fabric over the roof corners instead of dragging it across glazing or counters. Label the front so doors and shelf projections align every time. Before service, remove the cover completely, store it away from food, inspect the machine, reconnect power as directed, and complete the operator’s normal pre-use checks.
Test for Condensation and Contact
Fit the cover to the cool dry machine and inspect roof trim, glass edges, kettle hood, handles, trays, shelf corners, cart doors, wheels, and hem. After a representative storage period, uncover and check for condensation, odor, residue transfer, or abrasion. Any moisture should be dried and investigated before reinstalling. Replace damaged fabric before a torn edge catches a handle or leaves fibers near a food-service surface.
Maintain Separate Clean and Dirty Zones
Treat the outside face as an environmental surface and the inside face as the machine-contact surface. Avoid placing either side on a concession floor, loading dock, or greasy counter during removal. Provide a labeled bin or hanging point for the dry cover, and train staff to avoid cross-contact with utensils and ingredients. Inspect seams and closures for trapped crumbs or residue, then clean the cover by its approved method before the next storage cycle.
Prepare the Concession Equipment Order
Provide the machine and cart models, included zones, closed-door configuration, cabinet dimensions, roof trim, vents, controls, shelves, wheelbase, storage environment, cleaning rules, quantity, and labeled photos. Review the Popcorn Machine Cover and use Request a Quote for custom carts or signage. Venues and concession operators can coordinate multiple units through Business Inquiries or Commercial Sales.
Share This Article


