 Business





Tractor Covers: Measure the Hood, ROPS, Tires, and Attachments

Compact tractors rarely remain in a showroom configuration. A rollover [...]
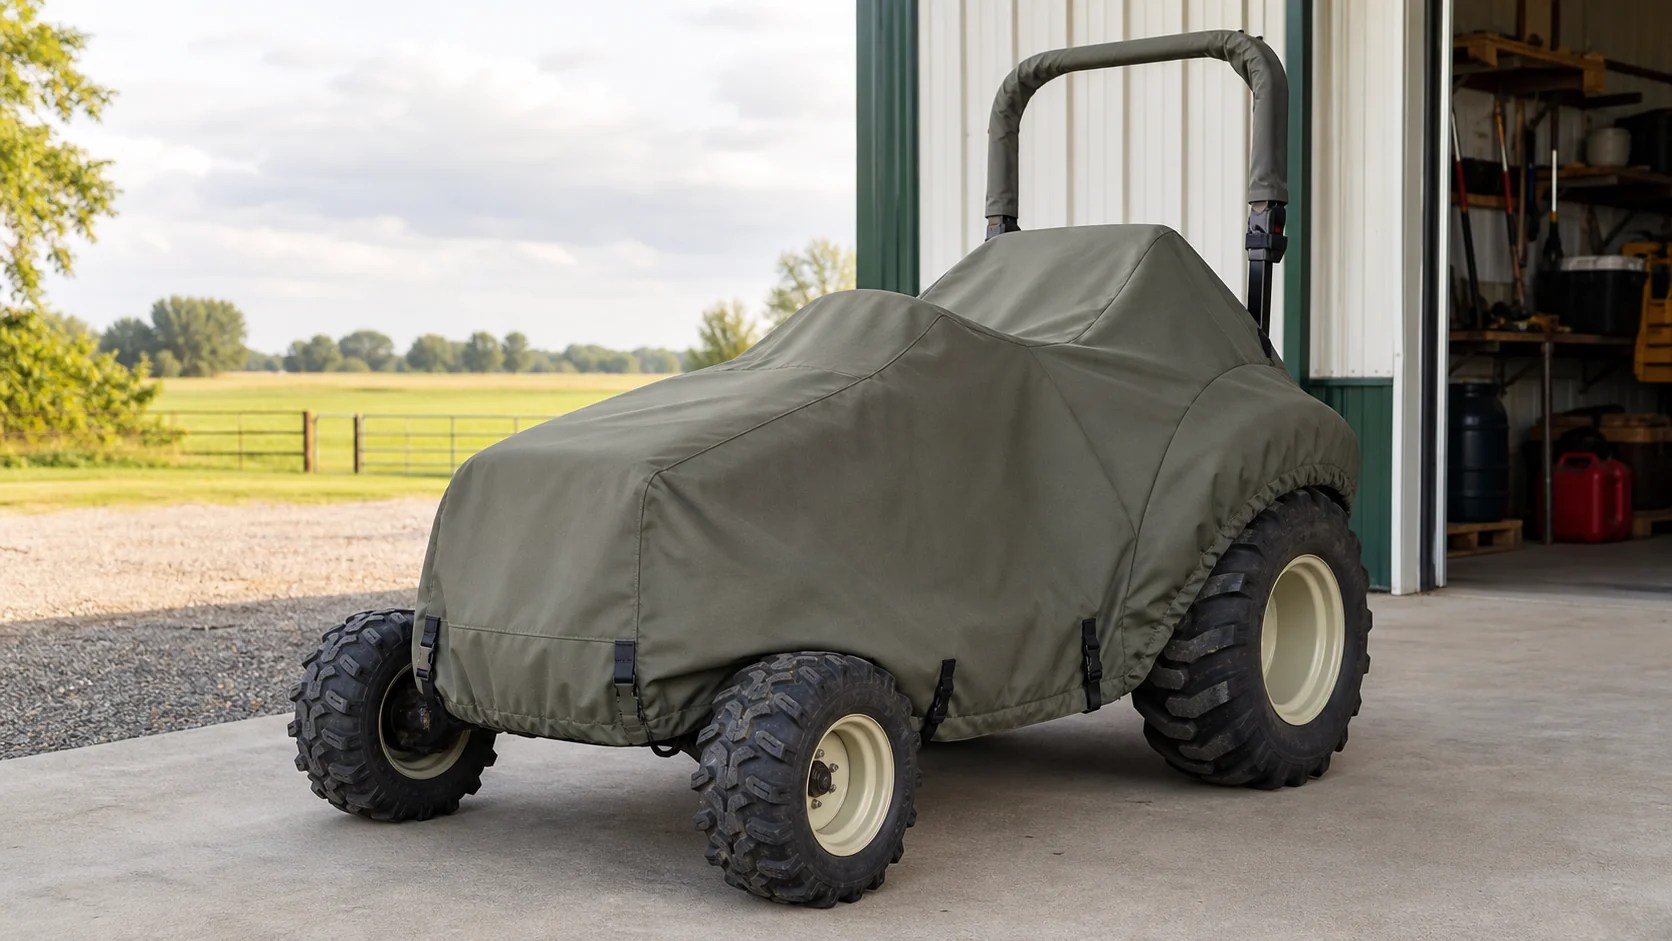
Compact tractors rarely remain in a showroom configuration. A rollover protective structure, work lights, loader mounts, steps, exhaust components, rear linkage, and changing implements create a profile that a generic tarp cannot explain. Custom tractor covers can be planned around the machine’s actual storage setup, but only after the owner defines exactly what stays attached.
Measure a cool, parked tractor with the engine off, parking brake set, key removed, and attachments lowered according to the manufacturer’s instructions. Never place a cover over hot exhaust or engine components, and never operate the tractor while covered. Those basic safety conditions also make the measurement process more stable and repeatable.
Choose the Exact Storage Configuration
List the tractor model for reference, then document the real configuration: ROPS up or folded, loader installed or removed, three-point arms raised or lowered, seat position, mirrors, canopy, and common attachment. A single cover cannot closely fit several dramatically different setups without deliberate allowance. If attachments rotate seasonally, separate covers may be easier to handle and less prone to wind movement.
Measure the Main Length in Segments
Record the full front-to-rear length, then break it into hood, operator platform, and rear linkage zones. Measure to the farthest fixed points, not just the body panels. Include front weights, brush guards, drawbars, hitch pins, or hydraulic couplers that remain installed. Segment dimensions show where the profile changes and help locate reinforced panels or closures away from sharp hardware.
Find the Maximum Width at More Than One Height
Measure across the widest tire sidewalls, the rear fenders, and any loader mounts or mirrors. The maximum width near the ground may differ from the width at the operator station. Follow How to Measure for baseline dimensions, then add widths at the front axle, rear axle, platform, and upper accessories so the cover does not bind at one level and billow at another.
Treat the ROPS as Its Own Shape
Record ROPS height from the ground, outside width, tube depth, and distance from the rear axle centerline or another stable reference. Note lights, beacons, brackets, and a canopy if fitted. For a foldable ROPS, measure the exact locked storage position. Do not force the structure into a position that conflicts with the tractor manual merely to simplify the cover.
Map the Hood, Exhaust, and Operator Station
Measure hood length and height, steering-wheel height, cowl width, seat-back height, and the position of the exhaust outlet. Mark any sharp edges and allow every component to cool fully before covering. A contoured panel around the operator station can reduce loose fabric, while a reachable opening may make installation easier around the steering wheel or ROPS.
Account for Tires, Steps, and Ground Clearance
Record tire diameter and width at all four positions, plus the distance between the outside sidewalls. Measure steps, foot platforms, and low brackets that could catch the hem. A cover may stop above the ground to avoid mud and standing water while still protecting most tire and body surfaces. Confirm the preferred finished drop at several points instead of assuming one uniform hem height.
Document Loaders and Rear Attachments Separately
If the loader remains mounted, record the arms, hydraulic lines, cross tube, bucket position, and total reach. For rear implements, identify protruding tines, blades, wheels, or guards. Lower implements safely and photograph both sides. Equipment that is sharp, oily, or frequently swapped may be better protected with a separate fitted piece rather than stretching the tractor cover around every projection.
Match Fabric and Fasteners to Farm Exposure
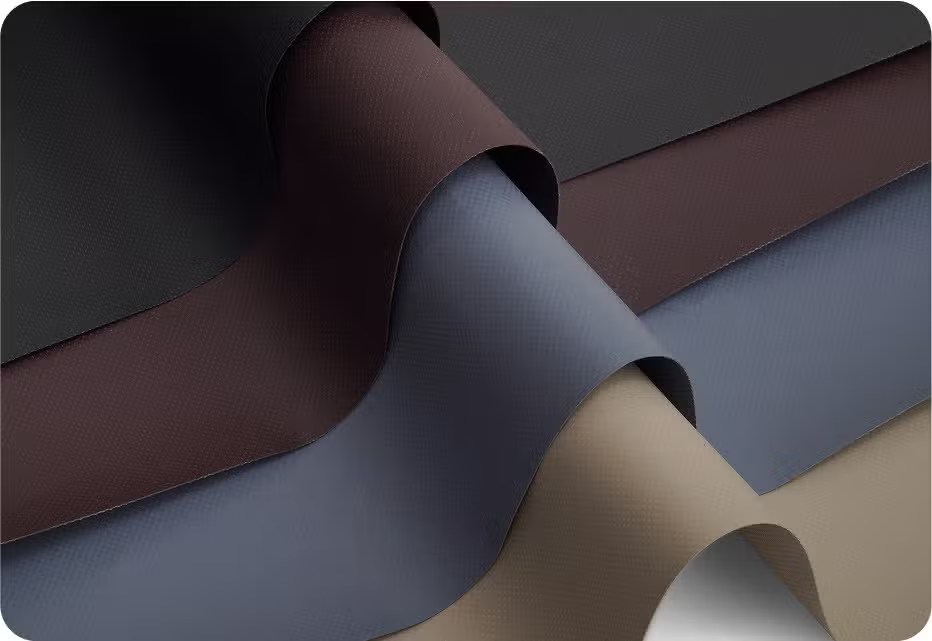
Compare ultraviolet exposure, dust, precipitation, wind, and handling on Our Fabrics. Buckles should be reachable without crawling under raised equipment, and straps must not route through moving components. Clean abrasive soil from painted surfaces before installation. A secure fit should reduce flapping while remaining quick enough that the operator will reinstall it after use.
Build a Complete Tractor Measurement File
Provide configuration notes, segmented dimensions, ROPS data, tire sizes, attachment positions, photos from all sides, and the desired lower drop. Review Tractor Covers and related Equipment Covers. For loaders, cabs, or unusual implements, send the package through Request a Quote so the pattern can reflect the stored machine rather than a generic tractor outline.
Inspect the Cover Before and After Every Season
Install the finished cover only after the tractor is parked, secure, cool, and clean enough that abrasive grit will not rub against paint. Check that the ROPS panel is correctly oriented, straps remain outside moving components, and the hem clears mud and pooled water. Reinspect after high wind and before long storage. At seasonal changeovers, compare the tractor’s configuration with the original measurement file; new mirrors, lights, ballast, or implements can invalidate a once-correct fit. Repair sharp hardware and damaged closures promptly rather than pulling the cover tighter around a changed machine. Store the dry cover in a clean container with its tractor ID so it is not confused with another machine in the shed.
Share This Article


