 Business





Curved Outdoor Sofa Covers: Map the Arc, Ends, and Seat Depth

A curved sofa creates a generous conversation area, but its [...]

A curved sofa creates a generous conversation area, but its geometry is easy to flatten into the wrong measurements. A single overall width does not explain the radius, the depth of the bow, or whether the two ends point straight ahead or turn inward. Custom curved outdoor sofa covers work best when the pattern follows the furniture’s real plan view instead of treating the piece as a rectangular bench.
Begin with the sofa assembled in the exact position used for storage. Align modular sections, place removable backs or side tables where they normally sit, and decide whether cushions will remain underneath. The goal is to document one repeatable configuration that a cover can settle over without stretching across the inside curve or pooling over the outer arc.
Sketch the Sofa From Directly Above
Draw the outside curve, inside seat line, two ends, and any straight center segment. Mark left and right from the viewer’s position so photos and measurements use the same orientation. A top-down sketch prevents a common mistake: recording the widest span while missing how far the center projects. Include attached consoles, integrated tables, corner wedges, or asymmetric arms rather than relying on the model name.
Record the Chord and the Arc Projection
Measure the straight-line distance between the two outer end points; this is the chord. Then measure perpendicular from the midpoint of that line to the farthest point on the sofa’s outer back. Repeat for the inner seat edge when accessible. These paired dimensions communicate how pronounced the curve is. Use the basic width, depth, and height sequence on How to Measure, then add these curve-specific references.
Measure Several Depth Stations
A curved sofa may be deepest at the center and shallower near the ends. Record front-to-back depth at the center, halfway toward each end, and at both end modules. Measure perpendicular to the local front edge rather than angling the tape across the sofa. Five depth stations make asymmetry visible and help prevent excess fabric from hanging over the inner curve.
Capture Back Height, Arms, and Rounded Ends
Measure total height from the floor at the highest back point, plus the back height above the seat at the center and both ends. Document arm height, arm width, end-face depth, and any tapered or rounded profile. If one end finishes with an open chaise, label it clearly. Photos taken square to each end help the pattern distinguish a soft radius from a sharp corner.
Decide Where the Cushions Will Live
Cushions left on the frame change every height and depth measurement. Arrange them naturally, without stacking extra pillows under the cover, and note whether seat or back cushions can shift. If cushions will be stored elsewhere, measure the bare frame instead. Whichever approach you choose, keep fabric and foam dry before covering so the fitted shape does not become a moisture trap.
Plan Seams Around the Curve
Large crescent shapes often need panel seams to control the change in direction. Ask where seams, darts, or reinforced high points will fall, especially at module joints and the outside back. The best seam map follows the form without creating rigid tension lines. It should also keep closures away from seating surfaces that could snag when the cover is removed or installed.
Create Runoff Without Distorting the Arc
A broad curved seat can collect water if the cover bridges from the back to the front edge. Use only smooth, approved supports where needed and keep them wide enough to avoid sharp peaks. The existing sofa pitch may already direct water outward. After the first rain, inspect the center and both inner corners; persistent puddles indicate a support or fit issue rather than a need to overtighten the hem.
Choose Fabric and Closures for the Location
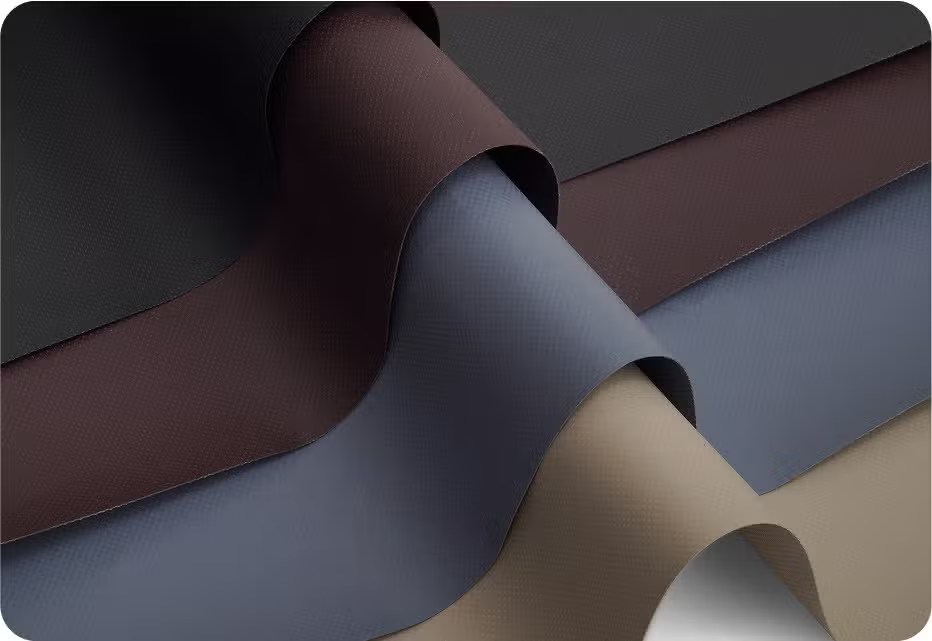
Compare sun, rain, wind, abrasion, and removal frequency on Our Fabrics. A tailored lower hem, reachable buckles, or straps at the end modules can resist lift while preserving the curve. Keep closures clear of walking paths and delicate furniture finishes. A cover used every evening should be manageable for one or two people, not merely heavy.
Send a Curve-Specific Quote Package
Include the plan sketch, chord, center projection, depth stations, heights, end profiles, cushion decision, photos, and storage exposure. Review Custom Curved Sofa Covers, browse related Patio Furniture Covers, and use Request a Quote for unusual modules. A complete geometry package helps CoversForge turn an elegant curve into a practical, repeatable fit.
Verify the Finished Fit in One Full Walkaround
When the cover arrives, align its orientation marks before pulling it over the outer arc. Walk around the sofa and check both ends, the deepest center projection, the inner curve, seams, and lower closures. The fabric should settle without hanging in the center opening or dragging on paving. Confirm that no buckle rests against a delicate finish and that water has a clear route off the top. Photograph the installed cover from the same angles used for measuring; those records help staff reinstall it consistently and make future replacement orders easier to compare.
Share This Article


