 Business





Insulated Backflow Preventer Covers: Measure Valves, Pipes, and Access

Outdoor backflow assemblies combine horizontal pipe runs, raised valve bodies, [...]

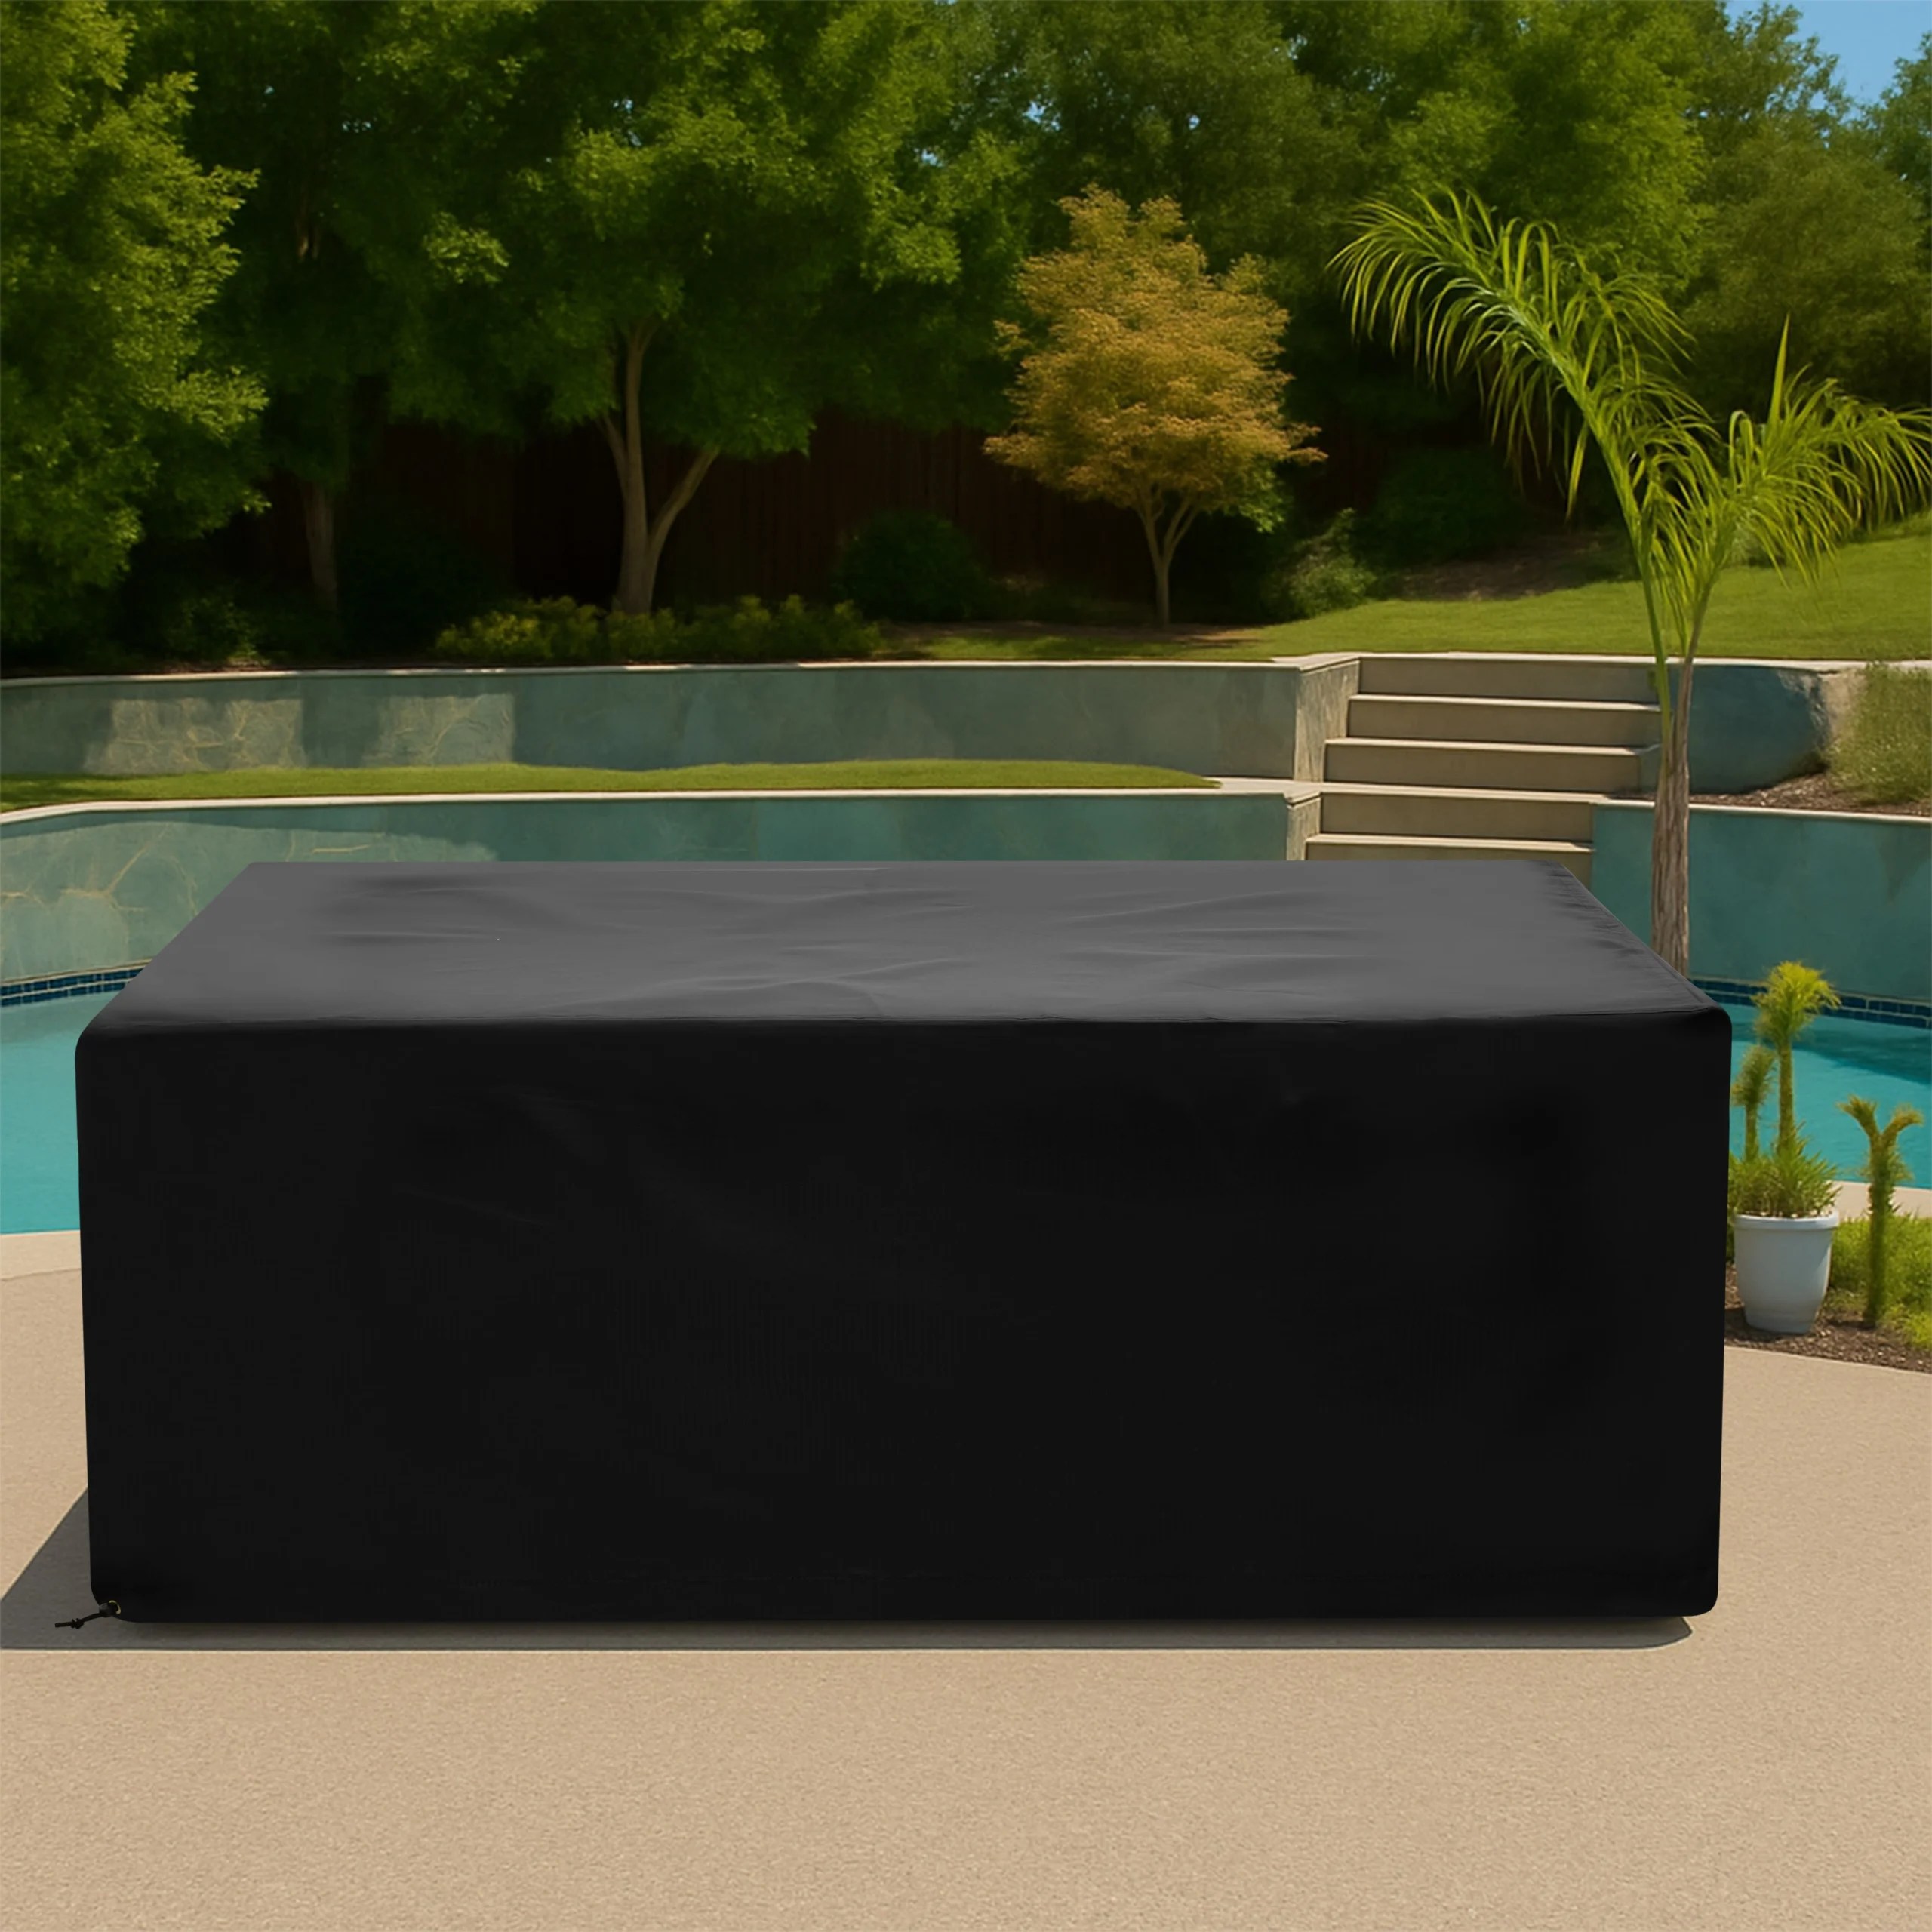
Outdoor backflow assemblies combine horizontal pipe runs, raised valve bodies, test cocks, handles, unions, elbows, and vertical risers. A custom insulated backflow preventer cover can follow that geometry while providing a padded weather barrier and planned access for inspection or service.
Freeze protection is site-specific. A cover should be treated as one part of a broader plumbing plan—not a guarantee against freezing. Local codes, the authority having jurisdiction, the device manufacturer, and a qualified plumbing professional determine required insulation, heat, drainage, accessibility, and testing.
Identify the Entire Assembly Before Measuring
Record the backflow preventer type, manufacturer, model, pipe size, orientation, and installation height. Include upstream and downstream shutoff valves, unions, strainers, gauges, test cocks, relief valves, and any heat-trace components. A photo from only the front can hide rear projections or pipe offsets. Capture the full run from both risers and show the wall, grade, enclosure, and nearby obstructions.
Measure the Pipe Envelope, Not Just the Valve Body
Take total outside length from the leftmost to rightmost protected point, maximum width, and maximum height. Measure the distance between vertical risers and the clearance from the bottom of the assembly to grade. Record each raised valve separately. Irregular assemblies often need a long horizontal body with shaped upper pockets; one oversized box can leave too much air space and become difficult to fasten in wind.
Map Handles, Test Cocks, Gauges, and Relief Zones
Note every handle position in the normal secured state, the direction each handle turns, and the projection of test cocks or gauges. Relief and discharge areas must remain consistent with applicable requirements and manufacturer guidance. Do not place a closure, insulation pad, or strap where it could restrict a required discharge path or make inspection harder. Detailed close-up photos help separate protected geometry from zones that must remain clear.
Choose Insulation Thickness With a Professional
The required thermal approach depends on design temperature, wind, exposure duration, pipe material, water movement, heat trace, enclosure type, and local practice. Confirm insulation needs with a qualified professional instead of selecting thickness from appearance alone. Include the approved insulation build-up in finished dimensions so the cover does not compress components or omit critical corners around valves and risers.
Design Service Access for Testing and Shutoff
Backflow devices require periodic testing and may need emergency access. Plan a large, obvious flap or removable panel where approved, with closures that technicians can operate in cold weather. The access path should reveal the necessary test points and handles without forcing the entire cover against sharp hardware. Identification can help facilities teams return the correct cover after testing, especially when multiple assemblies look similar.
Manage Moisture, Drainage, and Ground Clearance
Insulation that stays wet can lose performance and contribute to corrosion. Keep the lower edge above standing water, mulch, and snow accumulation where practical, and follow approved drainage requirements. The assembly should be dry before installation. A cover can block wind and precipitation, but it should not trap leaks or hide an active plumbing problem; regular inspection remains essential.
Fasten Against Wind Without Loading the Pipes
Use closures that hold the cover to itself or to approved points without pulling on small test cocks, valve handles, gauges, or unsupported piping. Lower buckles, overlap panels, and shaped riser openings can reduce lift. Avoid cords that cross walking paths or maintenance zones. If the assembly sits beside a building, document prevailing wind and wall clearance so the fastening plan remains reachable.
Inspect Through the Cold Season
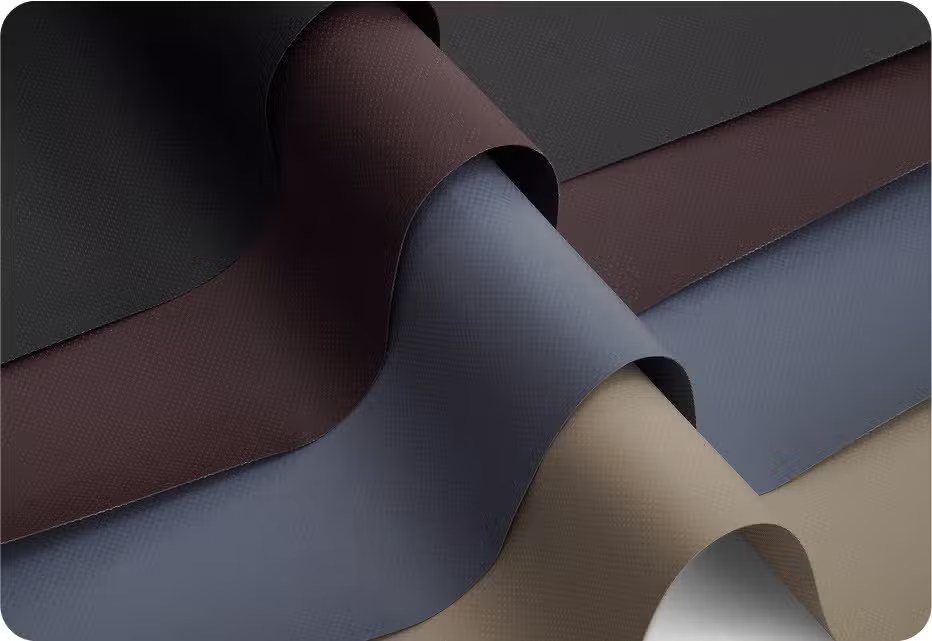
Check the cover after storms, high wind, service visits, and major temperature changes. Confirm closures remain secure, fabric is dry, access points are usable, and no leak or damage is hidden. Review weather-resistant options on Our Fabrics, but keep code compliance, testing, heat-trace checks, and plumbing maintenance as separate responsibilities managed by qualified personnel.
Label Covers for Multi-Site Facility Programs
Property teams may manage many similar assemblies across retail sites, hotels, schools, or municipal facilities. Give each cover an asset ID that matches the maintenance register, and record the device model, pipe size, approved insulation specification, install date, and inspection schedule. Photograph the installed cover from the same angle at every location. Standard documentation makes seasonal deployment faster while preserving site-specific differences; it also prevents a cover made for one valve layout from being forced onto another assembly with different relief or access requirements. Keep a spare-closure inventory and document repairs with dated photographs before the next freezing-weather deployment window.
Submit a Code-Aware Quote Package
Provide the assembly model, pipe size, total envelope, valve projections, approved insulation thickness, service-access needs, drainage constraints, site photos, and expected temperature range. The product route is Custom Insulated Backflow Preventer Cover. Use Request a Quote for unusual geometry and Business Inquiries for multi-site facility programs; related protective projects can start at Custom Covers.
Share This Article


