 Business





Custom Size Outdoor Covers: How Much Fit Allowance Is Enough?

Custom size outdoor covers should not be skin-tight, but they [...]
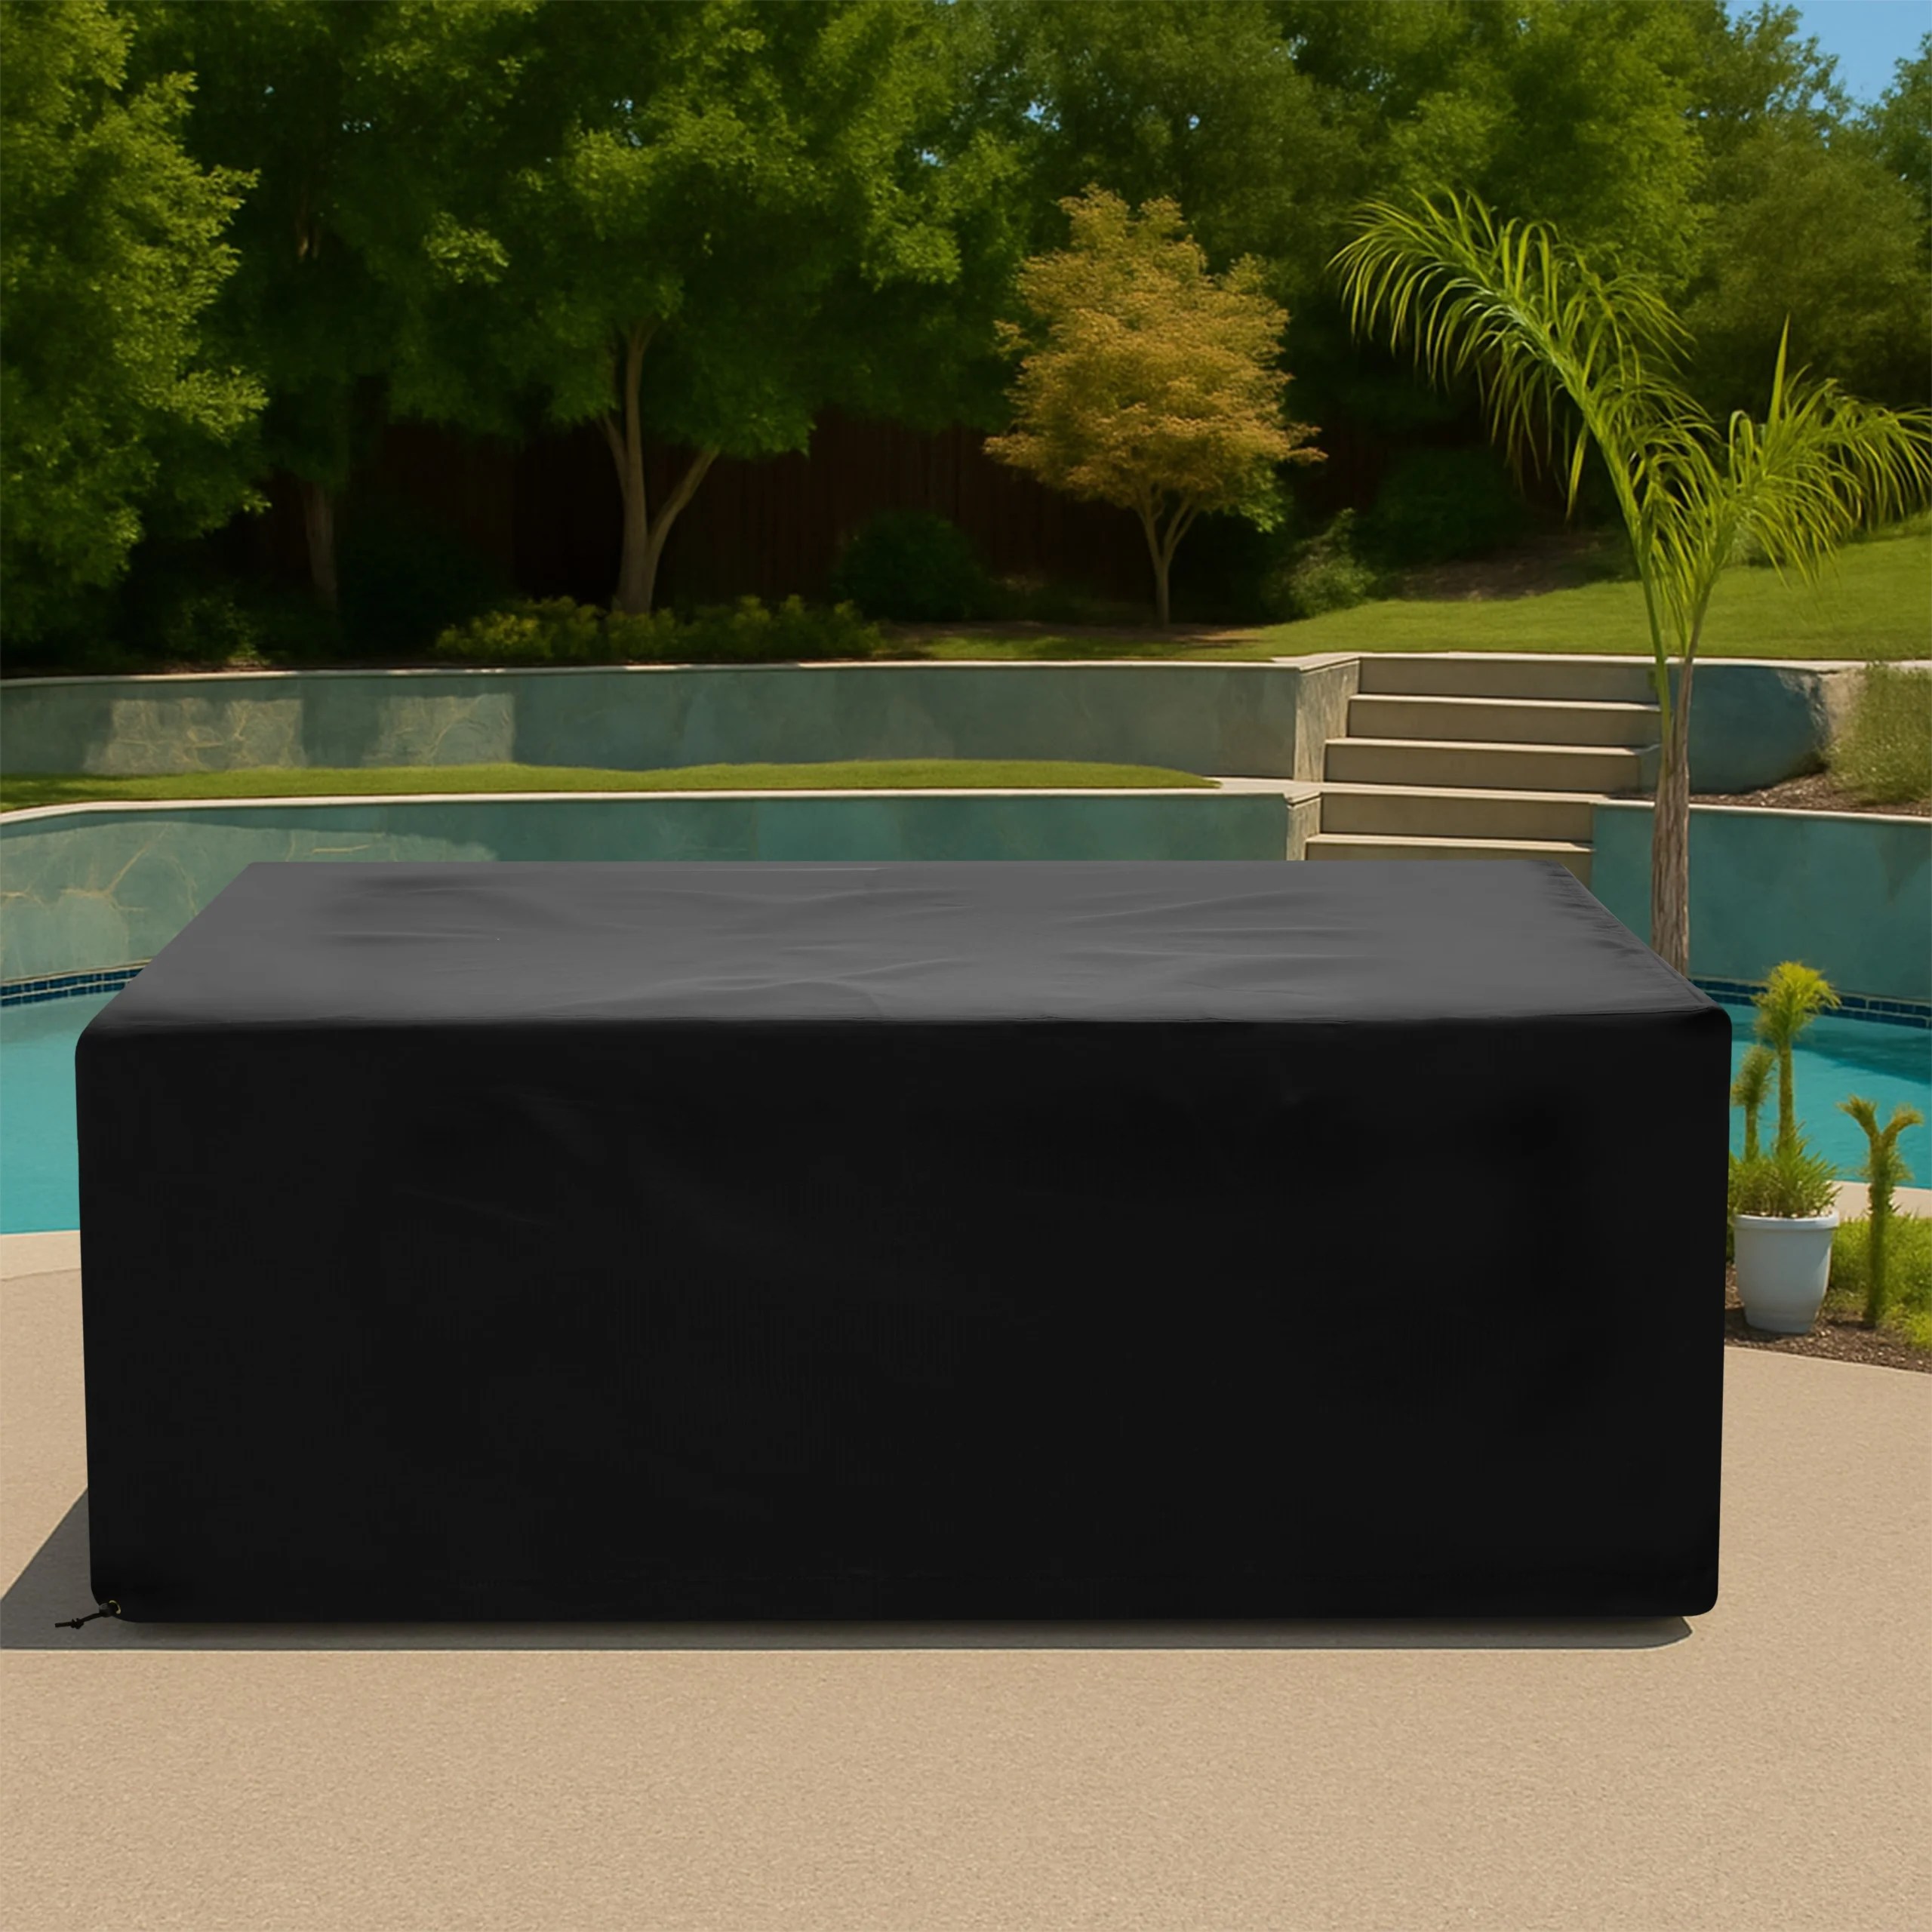
Custom size outdoor covers should not be skin-tight, but they should not hang like oversized tarps either. The difference is fit allowance: the small amount of extra room added so a cover can pass over corners, tolerate normal measurement variation, and be removed without dragging every seam across the object.
There is no universal number that works for every project. A box-shaped table, a domed fire pit, a console with handles, and a wheeled machine all need different allowances. The practical approach is to document the true maximum dimensions first, then decide where the finished cover needs ease and where it needs control.
Separate object measurements from cover measurements
Measure the object as it actually sits during storage. Record maximum width, depth, and height at the widest points, including handles, hinges, knobs, shelves, casters, and fixed accessories. Do not add extra inches to these numbers unless the order form specifically tells you to do so.
Why? Because hidden adjustments are hard to audit. If you add room to the width, the maker adds standard allowance again, and a protruding handle is documented separately, the cover can become much larger than intended. A clean specification keeps raw dimensions and requested preferences separate.
Allowance has three different jobs
Installation allowance lets the cover move over the widest or tallest point. A narrow lower body beneath a wide countertop may need extra opening room or a zipper, even if the middle fits well.
Movement allowance reduces strain when wind shifts the fabric or when temperature changes the flexibility of the material. It should prevent constant tension, not create uncontrolled flapping.
Manufacturing allowance accounts for seams, hems, fabric behavior, and production tolerances. This is normally handled by the cover pattern, not by inflating the object’s measurements.
Look for the installation bottleneck
The most important dimension is often not the largest overall number. It is the point the cover must pass during installation. Imagine lowering the finished cover from above. Can it clear a broad handle and then settle around a narrower base? Does a fixed wall prevent you from pulling fabric forward? Will a tall vent cap catch inside the cover?
Photographs from the front, side, rear, and a three-quarter angle help explain this path. Mark removable parts and say whether they will stay attached during storage. For complex shapes, a simple sketch with labeled maximum points can prevent more confusion than a long written description.
Do not use extra fabric to solve every feature
More room is not always the best answer. Purposeful construction can control fit more effectively:
- A zipper or hook-and-loop opening can clear a wide top over a narrow base.
- Buckled straps can secure the lower edge without shrinking the entire pattern.
- Shaped panels can follow a console, chimney, arm, or sloped back.
- Reinforced patches can protect high-contact corners.
- Handles can provide a repeatable lifting point for removal.
These features add control where it is needed instead of leaving surplus material across every surface.
Plan the lower edge around the environment
A cover hem should protect the intended area without sitting in routine standing water, soil, or wet grass. If the item has wheels, decide whether the wheels remain exposed for movement or covered for storage. If airflow below is important, specify the desired clearance instead of assuming “full length” means the same thing to everyone.
Also note sloped patios, wall clearances, drain locations, and strong prevailing winds. The correct lower allowance for a sheltered balcony may not work on an open rooftop or lakeside deck.
Check allowance around changing configurations
Outdoor furniture and equipment often change shape. Chairs tuck under a table, shelves fold down, handles telescope, cushions compress, and carts carry removable baskets. Pick one repeatable storage configuration and measure that version.
If the cover must fit more than one arrangement, list both sets of maximum dimensions and identify which is used most often. Do not assume a cover optimized for an expanded layout will stay secure on the compact layout. Separate covers may be the cleaner solution when the difference is large.
Test the first fit without forcing it
When the finished cover arrives, install it slowly and watch the stress points. A correct fit should pass over the object without hard pulling, seam twisting, or pressure on fragile controls. Once installed, the panels should follow the main shape, the hem should land at the planned height, and fasteners should reach stable anchor points.
If one corner is tight, do not stretch the fabric aggressively. Recheck the original dimensions and installation orientation. If the cover is loose, identify whether the cause is an incorrect storage configuration, an unfastened strap, or excess pattern room before requesting an alteration.
Create a quote-ready measurement package
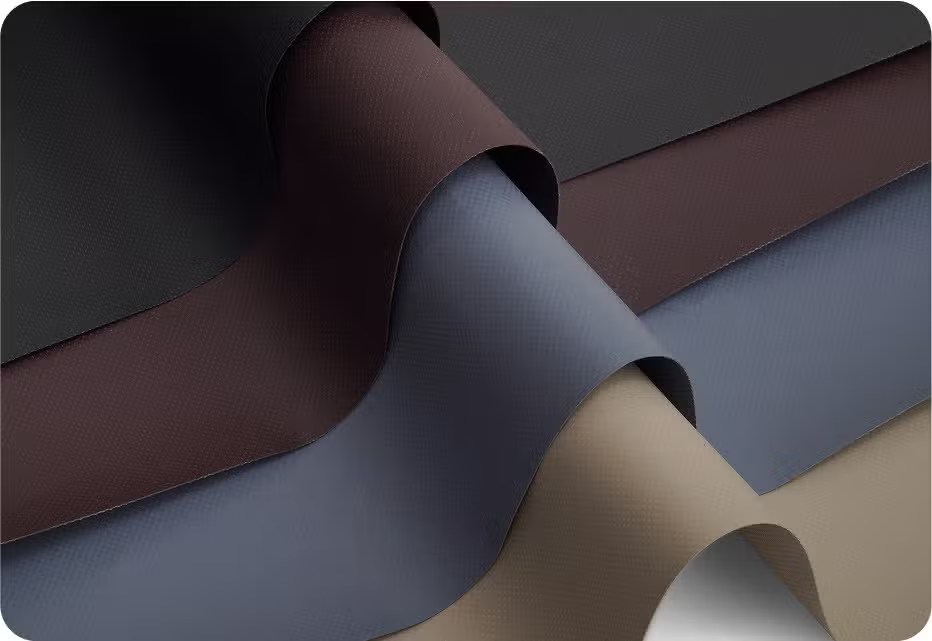
Use the CoversForge measurement guide to record raw outside dimensions. Add photographs, storage configuration, installation direction, preferred hem height, wind exposure, and any opening or fastener requirements. Then compare material options in Our Fabrics.
Custom size outdoor covers work best when allowance is treated as a design decision, not a guessed number added to every side. Explore custom cover options or submit the complete specification through Request a Quote for a shape review.
Share This Article

Written by : CoversForge
Follow Us
Latest Articles
September 14, 2026
September 14, 2026
September 14, 2026