 Business





Custom Outdoor Covers with Access Panels: Plan Zippers, Flaps, and Cable Pass-Throughs

Custom outdoor covers do not always need to be removed [...]
Custom outdoor covers do not always need to be removed completely whenever someone checks a control, connects a cable, reads a gauge, or reaches a service point. A planned access panel can make routine use easier, but every zipper, flap, and opening also creates a potential path for water, dust, abrasion, or wind.
The best access feature begins with a defined task and a precise location. This guide explains how to document openings for irregular outdoor equipment without turning the cover into a collection of unnecessary weak points.
Start with the action, not the zipper
Write down exactly what a person needs to do while the item is covered: read one display, connect shore power, reach a charging port, inspect a gauge, or move a handle. Then decide whether that action is safe and permitted without removing the entire cover.
Do not design access around hot surfaces, moving parts, combustion equipment, blocked ventilation, or energized service areas. Manufacturer instructions and site safety rules come before convenience.
Map the opening on a measured elevation
Measure the access point from two stable reference edges, such as the equipment base and left frame corner. Record its width, height, projection, and operating sweep. A hinged door may need more clearance than the visible latch suggests.
Add a straight-on photograph and side view with the measurement references marked. Do not locate the panel from a loose cushion, removable knob, or flexible cable that can shift.
Choose the smallest practical access area
A large opening is not automatically easier. It adds seam length and loose fabric while exposing more of the protected item. Size the panel around the user’s hand, tool, connector, or door movement, plus realistic operating clearance.
If several controls sit close together, one well-placed panel may be better than multiple small holes. If they are far apart, full cover removal may remain simpler and more weather-resistant than a network of openings.
Use overlap to manage downward water flow
Outdoor openings should respect gravity and wind-driven rain. A protective flap that overlaps the zipper or closure can help shed water, especially when the opening faces upward or toward prevailing weather. The finished edge should not form a shelf where water can stand.
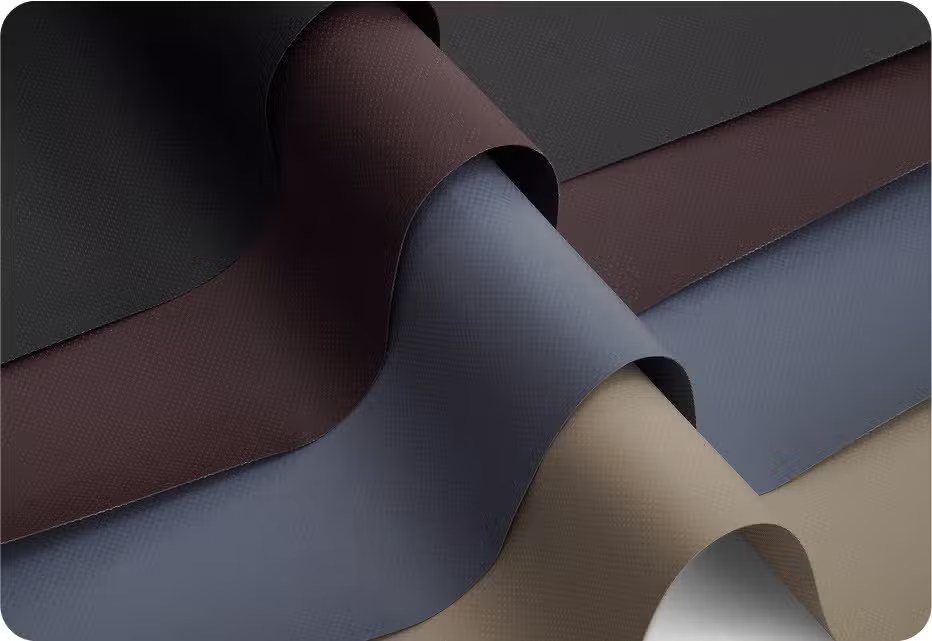
Place openings away from natural runoff valleys when possible. For a sloped top, route water around the panel rather than directly across it. Review CoversForge fabric options alongside seam and closure construction for the actual exposure.
Plan cable pass-throughs around the connector
Measure the largest connector head, not just the cable diameter. A power plug, marine connector, or data fitting may require a temporary larger opening even though the cable is small after connection.
- Route the pass-through downward where the equipment permits.
- Maintain the cable maker’s minimum bend radius.
- Avoid pinching insulation at the hem or zipper.
- Keep electrical connections in approved weather-protected locations.
- Use a closure that can reduce the opening when the cable is absent.
Separate ventilation from service access
An access flap is not a substitute for engineered equipment ventilation. If the object needs airflow during storage, document the intake, exhaust, heat source, and manufacturer clearances. If it operates while covered, the entire use case requires safety review; many items should never run inside a fabric enclosure.
A cover vent helps manage air exchange under appropriate storage conditions, while a service panel allows intentional access. Treat them as different features with different placement rules.
Reinforce high-use edges without making them rigid
Repeated opening concentrates force at zipper ends, corners, pulls, and handles. Reinforcement can spread that load, but bulky layers may hold water or press against delicate controls. Record how often the panel will be used and whether gloves are worn.
Handles should lift the cover fabric, not the equipment component beneath it. Zipper pulls should remain reachable without dragging the cover across sharp corners.
Check the cover in both open and closed states
In the closed state, confirm overlap, runoff, fastening, and clearance from controls. In the open state, confirm that the panel can be secured so it does not flap, fall into a moving part, or block the user’s view.
Test the full installation path too. A carefully positioned panel does not solve a cover that cannot pass over the widest projection. The How to Measure guide helps organize overall dimensions and photographs before special features are added.
Limit features to what the routine will use
Every added closure increases cost, inspection needs, and the number of decisions during installation. Rank each proposed opening as required, helpful, or optional. Keep required access, test helpful features against the workflow, and remove features that do not solve a repeated task.
This approach is especially useful for tapered consoles, equipment carts, charging stations, control boxes, and irregular shapes. Browse equipment covers for related applications.
Send a feature map with the quote
Provide overall dimensions, a labeled sketch, access-point coordinates, connector sizes, opening direction, exposure, operating state, and photographs. Include the safe task that each panel supports. A clear feature map helps the cover maker distinguish a required access opening from a general preference.
Explore custom outdoor covers for unusual profiles. Use Request a Quote to share the equipment shape, access routine, and safety constraints with CoversForge before finalizing zippers, flaps, or cable pass-throughs.
Share This Article


