 Business






Rototiller Covers: Measure Tines, Handles, Engines, and Wheels

Measure a custom rototiller cover around cooled engines, folded handles, tine guards, depth stakes, wheels, controls, drainage, airflow, and safe storage.
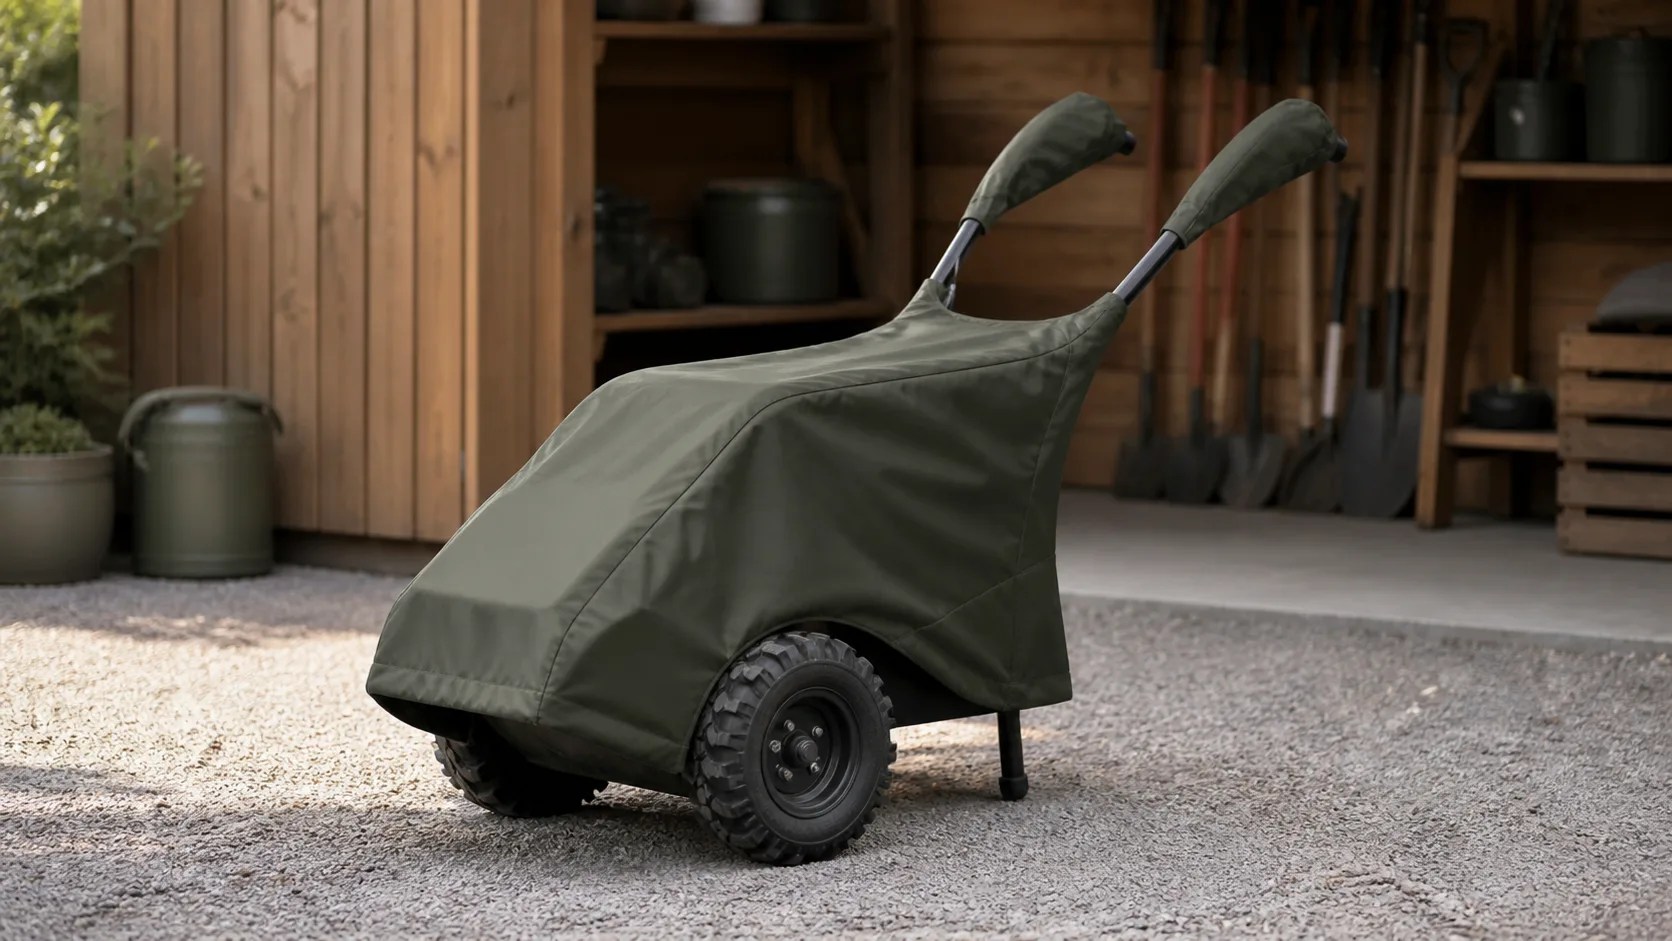
A walk-behind tiller combines a compact engine, a wide tine housing, a tall handle assembly, and several sharp projections. A loose tarp can snag the depth stake or collect water over the engine, while a small cover may rest against hot or oily components. A well-planned custom rototiller cover starts with the machine in one documented, fully cooled storage configuration.
Clean off soil, follow the manufacturer’s shutdown and fuel-storage instructions, and allow every surface to dry. Choose whether the handle stays upright or folds, whether wheels move to a storage notch, and whether removable accessories come off. The cover is only for an inactive machine. Remove it completely before inspection, fueling, transport, adjustment, or starting the engine.
Set One Safe Storage Configuration
Park on a level, stable surface with the engine off, controls released, and the machine secured as its manual directs. Photograph both sides and mark the selected handle and wheel positions. A pattern measured with the handle extended will not fit correctly after it is folded. Never use cover tension to hold a control, stabilize the machine, or restrain an attachment.
Measure the Maximum Working Envelope
Follow How to Measure and record overall length from the front engine or bumper to the rear handle, maximum width across the tine shield or wheels, and maximum height at the handle or controls. Add the engine-deck height and the horizontal location of the highest point so the top panel can slope instead of bridging an unsupported span.
Map Tines, Guards, and the Depth Stake
Do not reach beneath the guard while measuring. Record the outside width and lower profile of the fixed tine housing, then locate the depth stake, drag bar, side shields, and any exposed fastener from safe reference planes. Repair burrs and damaged guards first. Reinforcement can manage normal contact, but it should never conceal a hazardous edge or replace a required machine guard.
Document Handles, Levers, and Cables
Measure the handle at its widest grips and highest control, including cable loops that remain outside the frame. Note folding joints, throttle levers, clutch bails, and adjustment knobs. Keep seams and closures away from flexible cables so installation does not kink them. If the handle folds, confirm that the stored position is approved and that no control is held under pressure.
Protect a Cooled, Dry Engine
Wait until the engine, muffler, and gearbox are completely cool. Brush away debris that could hold moisture or contact a warm surface, and address fuel or oil leaks before covering. Do not run or idle the tiller beneath any cover. Follow the equipment maker for fuel stabilization, battery removal, and seasonal service; a textile cover does not create a fire-safe condition or replace maintenance.
Shape Runoff Above Wheels and Housing
The engine or handle joint may provide a natural high point, but the broad tine guard can still create a shallow valley. Plan a supported slope toward the sides without pressing fabric into controls. Keep the hem above wet soil and allow drainage around the wheels. Do not insert a sharp improvised prop or overtighten straps to pull out a puddle.
Choose Fabric for Grit and Frequent Handling
Compare abrasion resistance, water performance, UV exposure, flexibility, and finished weight on Our Fabrics. Related options are available among Equipment Covers. A manageable fabric helps when the tiller is uncovered often, while reinforcement may be useful at normal contact points. Always remove dried grit before lifting the cover across painted or molded surfaces.
Place Closures on Stable Frame Members
Use only cool, fixed structure approved for contact, not cables, levers, axles, or rotating parts. Position closures where they can be reached without leaning across sharp tines. Secure loose strap tails and confirm the cover cannot drag into a walkway. After wind or heavy rain, inspect the parked machine and adjust the pattern rather than relying on excessive tension.
Run a Dry Trial Before Seasonal Storage
Fit the clean cover in calm, dry conditions and walk around the machine without reaching beneath the tine guard. Confirm that the front and rear marks are obvious, the handle pocket settles without pulling cables, the top sheds toward open sides, and the hem clears both wheels and damp ground. Remove the cover and inspect the interior for oil, fuel, moisture, or abrasion marks. Repeat the check after the first rain and again after strong wind. If one point repeatedly rubs or a valley holds water, document the location with a photo and revise the shape. Do not solve a fit problem by adding tension near a control or hot component.
Send a Complete Rototiller Specification
Provide make, model, storage position, overall dimensions, tine-guard and wheel measurements, depth-stake location, handle fold details, normal exposure, closure points, and labeled photos. Review the Custom Rototiller Cover, browse Custom Covers, or use Request a Quote. Fleet buyers can coordinate repeated units through Business Inquiries.
Frequently Asked Questions
Should a rototiller handle be folded before measuring?
Only if the manufacturer approves that storage position and you will use it every time. Record the exact joint setting, cable path, and overall height so the finished cover does not press on controls.
Can a rototiller be covered immediately after use?
No. The engine, muffler, gearbox, and surrounding surfaces must be fully cool, clean, and dry. Address fuel or oil leaks before fitting any textile cover.
What is the most commonly missed rototiller measurement?
The maximum lower width across the tine shield or wheels is often missed. Also record the rear handle projection and depth stake so the hem and seams clear hard edges.
Share This Article

Written by : CoversForge
Follow Us
Latest Articles
September 9, 2026
September 9, 2026