 Business





Made-to-Measure Outdoor Covers: From Measurements to Finished Fit

People searching for made to measure outdoor covers want a [...]

People searching for made to measure outdoor covers want a set of dimensions, photographs, and use requirements turned into a cover built for one specific object. The process involves more than cutting a rectangle to length and width. A good specification explains the shape, identifies stress points, plans how the cover will be installed, and matches fabric and fastening choices to the environment.
If you have already read a measurement guide, the next question is often: what happens after the numbers are submitted? This article follows the practical path from the initial brief to a finished cover and highlights the decisions that have the greatest effect on fit.
Step 1: define what the cover must protect
Start with the object, but also describe how it is used. A patio console used every weekend needs fast removal. A commercial cart stored for months may prioritize secure fastening and broad coverage. A grill island needs clearance for knobs and shelves, while outdoor equipment may require vents or access points.
Share the exposure conditions: direct sun, heavy rain, coastal air, snow, dust, or frequent wind. These details guide material and construction decisions that dimensions alone cannot answer.
Step 2: organize dimensions and photographs
Each measurement should have a clear label and reference point. Use one unit throughout the submission. Photograph the front, back, sides, top, and any unusual detail. A simple sketch can connect the numbers to the photos and show which side is considered the front.
The CoversForge How to Measure guide outlines the basic dimensions for common furniture and equipment. For irregular shapes, include intermediate heights, changing widths, angled panels, fixed handles, and anything the cover must pass over during installation.
Step 3: review shape and installation path
A cover can match the final shape but still be difficult to install if the opening cannot clear the widest point. The design review considers how the cover moves over the object, where seams can follow edges, and whether a zipper or split opening would make regular use easier.
This stage also identifies projections that may need reinforced panels or pockets. Sharp corners, hinges, and hardware should be called out so they do not become hidden abrasion points.
Step 4: select fabric for the real environment
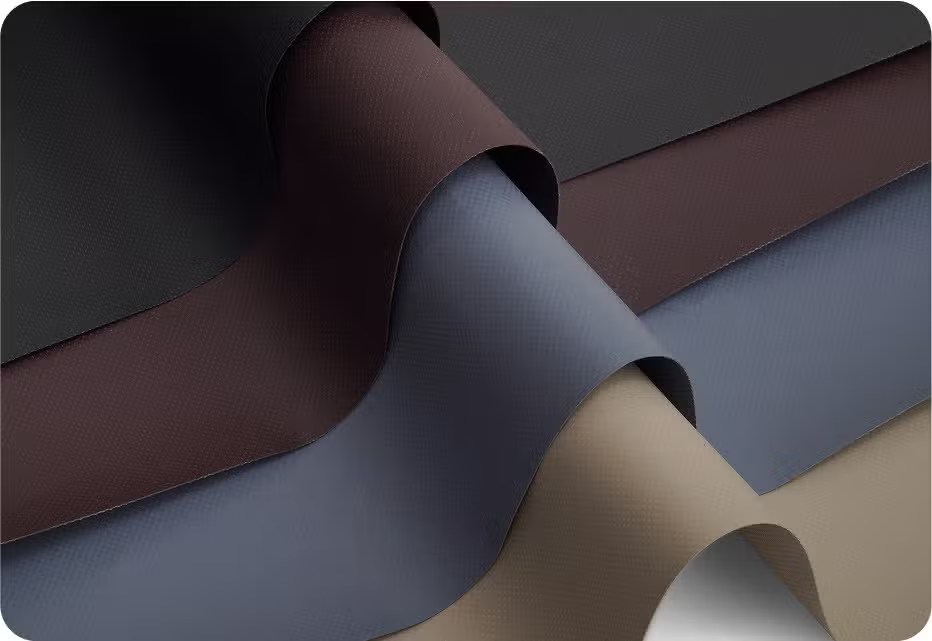
Material should match exposure, storage duration, and handling frequency. A heavier construction may suit demanding conditions, while a lighter option may be easier for daily removal. Water protection, UV exposure, flexibility, and abrasion are all part of the choice.
Use the fabric comparison page to review CoversForge options. The best choice is not simply the thickest fabric; it is the construction that provides the needed protection and remains practical for the cover’s size.
Step 5: place seams, vents, and fasteners
Seams can follow changes in geometry and help the cover hold its intended form. Vents may support airflow in humid or long-storage applications. Straps, buckles, drawcords, or elastic sections keep the lower edge controlled when weather changes.
Placement should reflect access. A buckle hidden behind a heavy appliance may be secure but inconvenient. A zipper near a delicate finish may need a protective flap. Made-to-measure design allows these details to respond to the object rather than forcing a generic feature layout.
Step 6: build in the right allowance
A finished cover is not normally identical to the object’s exact dimensions. It needs suitable allowance for installation, material behavior, and the chosen fit. Too little can make the cover difficult to use and load seams. Too much can create flapping panels and water pockets.
Do not add arbitrary extra inches to every measurement unless instructed. Submit actual object dimensions and let the manufacturing specification apply the appropriate allowance for the design.
Step 7: confirm the specification before production
Review the title or description of the object, unit of measure, overall dimensions, special features, fabric, color, fastening, and lower-edge position. Check that the latest sketch and photos are included. A careful confirmation prevents an old dimension or reversed orientation from entering production.
Step 8: test the finished fit correctly
Install the cover on a clean, cool, dry object. Align shaped corners and openings before tightening fasteners. Check that the cover clears controls and sharp projections, water can run off, and straps reach their intended attachment points.
Take photos during the first installation. They provide a useful reference for future use and make any fit question easier to explain. Store the confirmed measurement record for repeat orders, especially across a commercial property or equipment fleet.
What makes the process successful?
The most useful submissions are not necessarily the most technical. They are complete, consistent, and honest about uncertainty. If one dimension is hard to access, say so and provide extra photos rather than guessing. If a part changes position, show both operating and storage configurations.
Browse custom covers to see the range of applications. For a unique shape or business program, send the object details through Request a Quote so the made-to-measure workflow can begin with a clear specification.
Share This Article

Written by : CoversForge
Follow Us
Latest Articles
September 10, 2026
September 10, 2026
September 10, 2026